Hydroponic Grow Schedule
There are plenty of good reasons marijuana seed growers may want to switch over to hydroponic systems. They are perfect for indoor grows of all sizes, can produce crops year-round, and allow growers an unprecedented amount of control over every aspect of crop management. Hydroponic growing is a lot more complicated than growing cannabis seeds outdoors, though, so it is important for novice growers and those who are switching over from soil to know what to expect.
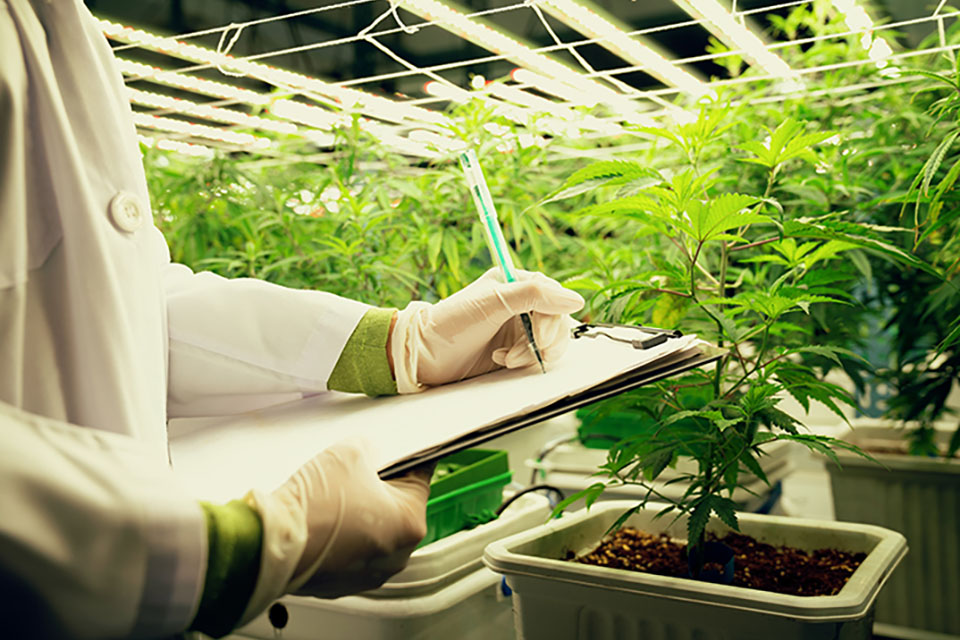
Hydroponic growers who want to maximize their yields and improve the quality of their finished products need to manage nutrients, light, temperature, humidity, pH, and more. This article will offer a week-by-week breakdown of what hydroponic plants need to grow and thrive.
Vegetative Stage
Hydroponically grown plants only need to spend an average of two weeks in the vegetative stage. These two weeks are essential, though, so growers should pay careful attention to their setups.
Week One
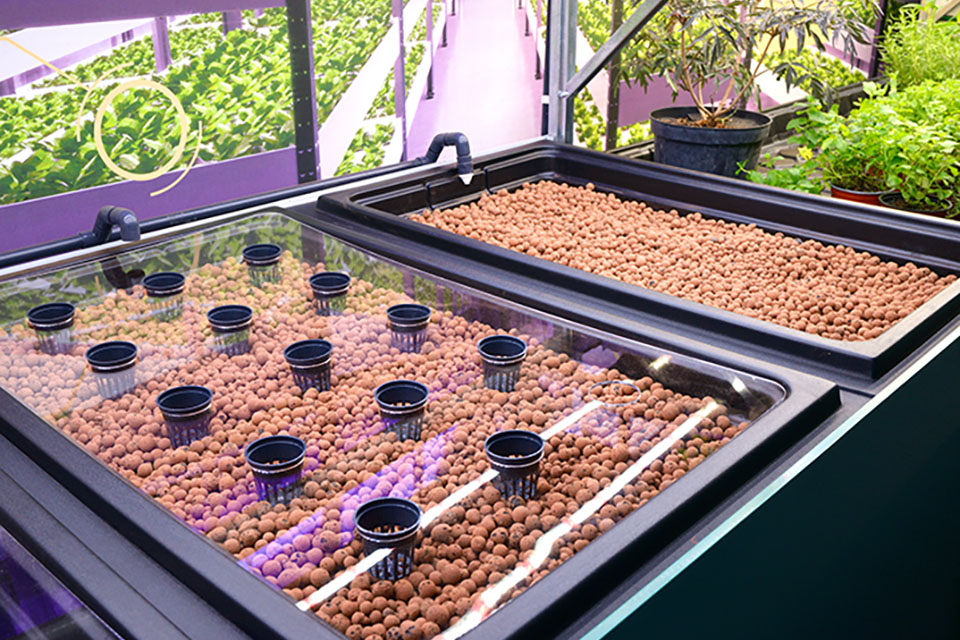
Growers should set up their hydroponic systems and run them for at least 24 hours before even thinking about moving their plants. The water temperature should be around 70 degrees with a pH of 5.8 and a TDS of 650 ppm and an EC of 1.3. Growers who are having a hard time keeping their water warm can install fish tank heaters, while those who need to cool off their setups can simply add extra water.
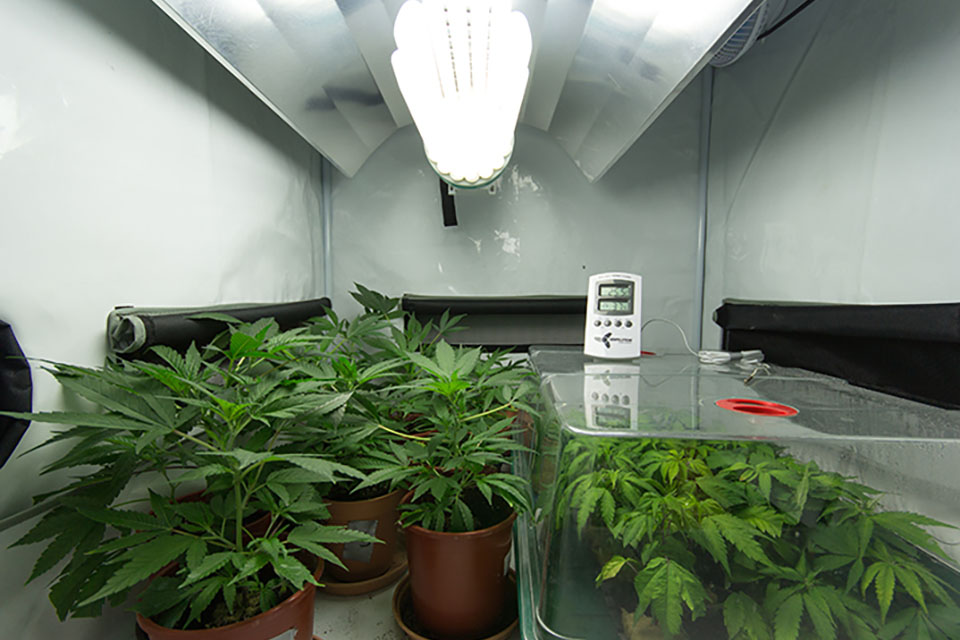
Since the plants being installed in hydroponic systems are already entering the vegetative phase, they will need 18 hours per day of light. A 400W MH lamp should be perfect for this early growth stage since it will give off more blue light than HPS lights. Place the lamp around 40 inches from the tops of the plants to avoid burning them.
The daytime temperature, which should be maintained whenever the lights are on, should be around 73 degrees Fahrenheit. Lower the temperature to around 64 degrees when the lights are off but maintain a relative humidity level of around 80% day and night. Growers can keep the humidity levels high by misting their plants daily or installing waterproof flooring and spraying the floors.
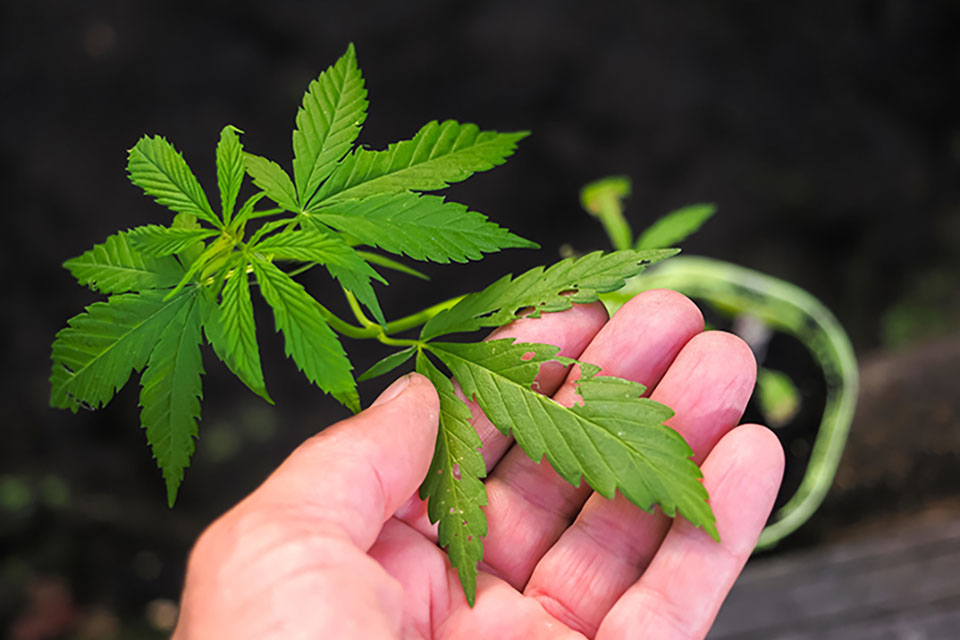
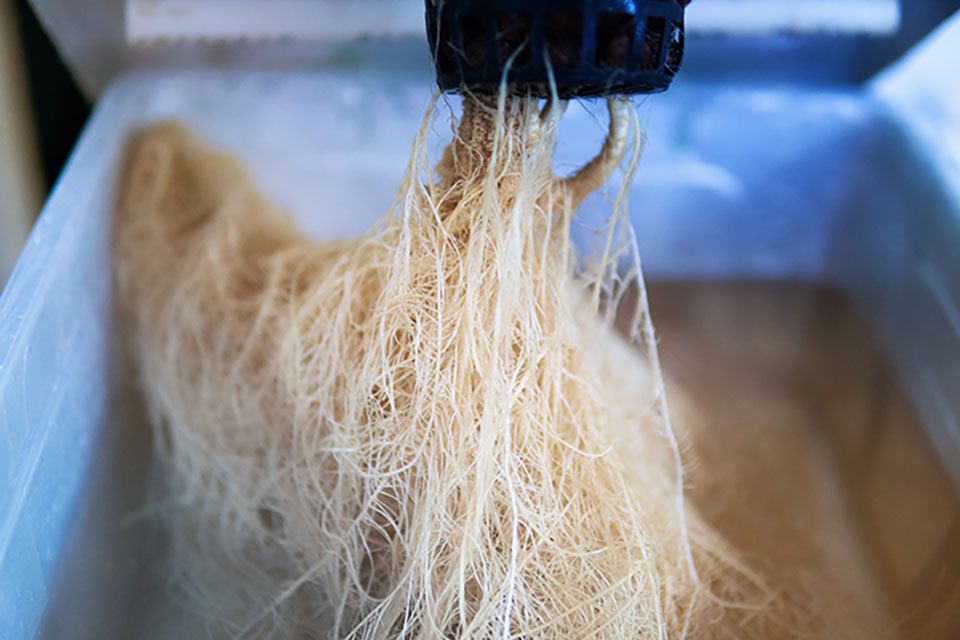
Whether they are using seedlings or clones, growers should keep a careful eye on their plants during the first week of growth. Check on the plants every day, if possible, and make sure the roots are developing well. They should be as long as the plants are tall within the first week and should be white or off-white.
The plants will need high nitrogen fertilizer or plant food during this early growth stage. Keep in mind that as they uptake nutrients, the TDS and EC values in the water will drop, which will raise its pH. Make adjustments as needed and check the levels no less often than once every two days.
Week Two
The plants should be establishing themselves and becoming accustomed to the hydroponic system. Move the lights to around 20 inches from the tops of the plants and stick to the same lighting schedule. The relative humidity should still be around 80% and the temperature should be around 75 during the day and 64 degrees Fahrenheit at night.
The plants should still be getting plenty of nutrients, especially nitrogen. It is OK to let the TDS rise to around 750 ppm and the EC to hit 1.5, but make sure to continue monitoring the water pH.
The second week of the vegetative stage is the best time to implement pruning techniques like topping and fimming. It is also a good idea to set up fans over the plants and leave them on throughout the second week of growth. The constant breeze will help them develop stronger, healthier stems.
Flowering Stage
Although plants grown in hydroponic setups grow faster in the vegetative stage, they still require a full two months or more of flowering to develop large, potent buds. Texas and Arizona growers can induce flowering by switching the light schedule from 18/6 to 12/12. It is also a good idea to switch from MH to HPS lights at this point.
Week One
It may take a while for the plants to begin actually forming buds. Continue feeding them high-nitrogen fertilizer during the first few weeks of flowering to support ongoing growth and expect the TDS and EC to rise to around 850 ppm and 1.7, respectively. Once they have reached their full size, growers should switch to high-phosphorus plant food or fertilizer to support healthy flower growth.
When they switch their plants over to the flowering stage, growers should also raise the air temperature slightly to around 77 during the day and 65 degrees Fahrenheit at night and lower the relative humidity to around 70%. Keep an eye out for signs of nutrient deficiency, pests, and other damage and check the roots regularly to make sure they are healthy.
Week Two
The plants should be growing quickly this week, so move the light whenever necessary to maintain 20 inches of distance between it and the tops of the plants. Feel free to prune the plants, but they should now be too large for topping and fimming. Plants that are growing too tall can be super cropped to keep them at a manageable height.
By now, it should be clear if there are any male plants. Remove them to prevent pollination.
Increase the temperature to around 79 degrees during the day and 67 degrees Fahrenheit at night but maintain a relative humidity of around 70%. Continue checking the pH and making adjustments as necessary and allow the nutrient levels to rise to a TDH of around 950 ppm and an EC of around 1.9.
Week Three
The plants’ growth should be slowing, and their first buds should appear in the third week of flowering. Check the water levels frequently, as the plants will need a lot of water during this phase. Keep the TDS around 1050 and the EC around 2.1 and decrease the relative humidity to around 60% to avoid common moisture-related problems like bud rot.
The end of the third week of flowering is a good time to flush the plants, as growers will want to switch over from a nitrogen-heavy fertilizer to a phosphorous-heavy mix to support healthy bud growth. Wait several days after flushing before giving the plants the new fertilizer.
Week Four
The plants should no longer be growing upward. Instead, they should already have thick stems, dense root mats, and be producing plenty of new buds.
Growers should continue monitoring their water levels carefully. The TDS should be around 1150 ppm and the EC should be around 2.3, so make adjustments as needed. Now is also a good time to increase the daytime temperatures in the grow room to around 80 degrees Fahrenheit and decrease the relative humidity to around 50%.
Week Five
Continue monitoring the plants carefully. The buds should be continuing to grow. Continue administering phosphorous-heavy fertilizer or plant food as needed to maintain a TDS of around 1200 ppm and an EC of around 2.4 and keep the pH at 5.8.
Plants that are in full bud need plenty of light. Move the lamps closer to the tops of the plants if possible, but make sure they will not burn the leaves. Maintain the same lighting schedule, temperature, and relative humidity through week five.
Week Six
The plants should be consuming a ton of nutrients, CO2, and water, so make sure the buckets are full, the TDS is around 1250 ppm, the EC is around 2.5, and the fans are still running to spread CO2 throughout the room.
The end of the sixth week of flowering is also a good time to flush plants, as they will need to be switched to a high potassium blend. Just make sure to give them plenty of water. Large plants may consume up to a gallon a day.
Week Seven
The buds should be getting large by week seven and growers should be giving their plants plenty of potassium, as that is the most important nutrient for bud development during this stage. Aim for a TDS of around 1300 and an EC of around 2.4 but lower the pH slightly to 5.5.
Growers should notice THC starting to form on the leaves surrounding the plants’ buds. It should be white, but soon it will start to turn orange, indicating that it is almost time to harvest the crop.
Week Eight
The buds should be dense, and the sugar leaves should be coated in a healthy layer of THC. It is almost time for harvest, so flush the plants to remove excess nutrients. Aim for a TDS of around 750 ppm and an EC of around 1.5 after the flush, then stop feeding them completely. This will ensure that the finished product does not have an unpleasant, chemically aroma. It is also important for growers to reduce the temperatures in their grow rooms to around 76 during the day and 65 at night.
Week Nine
It should be about time to harvest the plants. Maintain a pH of 5.5 and a TDS and EC as close as possible to zero until they are ready to harvest. Wait until around 80% of the hairs on the bud are brown.
Hydroponic Cannabis Growing
If growers have followed the guidelines laid out above, they should now have a healthy crop of fresh chronic ready to be dried, cured, and smoked. Remember that hydroponically grown plants may not produce as large a crop as soil-based plants grown in Florida, but the trade-off is worth it. The entire process can be completed in under three months and the end result will be tasty, dense, delicious buds. Try growing our autoflowering seeds hydroponically to get the fastest and easiest results.
If you live in a place with adequate sun and laws that permit outdoor growing, like Hawaii or California, perhaps you would rather just simplify and grow your American weed seeds in the garden.