Why Dry Cannabis Plants?
Drying cannabis flowers not only preserves the bud for long periods of time, but also breaks down the sugars and chlorophyll in the plant which is what creates that harsh, nasty, burning smoke and horrible taste when the herb hasn’t been cured properly. The moisture content of the cannabis plant has everything to do with the final quality of the product. Too dry and those THC cannabinoids will degrade, losing potency and the terpenes will break down, and you will end up with a very low-quality ganja. Too wet and you have a very harsh smoking, terrible tasting herb. Another important reason to dry your cannabis properly is to prevent mold or bud rot from forming on or inside the flowers. Mold loves moisture and will infect your entire harvest if given the chance, such as bagging the marijuana when it’s still too damp, and it will completely ruin your end product. It is also very unhealthy and dangerous to smoke any sort of mold. If it’s dangerous to breathe mold, imagine smoking it! As you can see, drying marijuana properly is incredibly important. If your cannabis is dried and cured effectively, an average ganja can become a premium quality smoke.
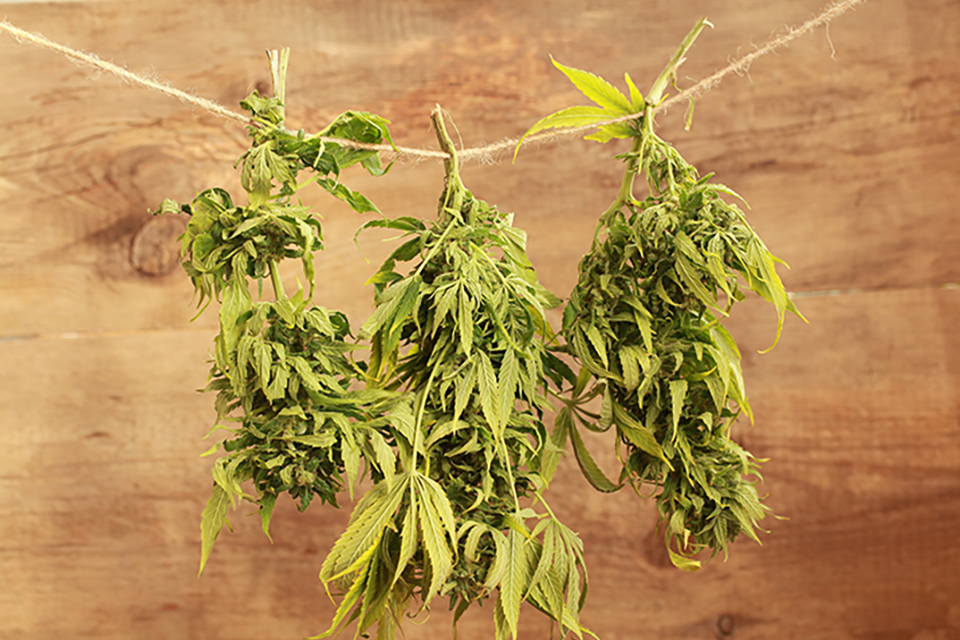
How to Dry Cannabis
There are a few different methods of drying cannabis, but the most commonly utilized is the mesh screen drying rack method. This involves using large stretched out, fine mesh screens, such as simple framed sliding screen doors hung horizontally from the ceiling, spaced far enough apart for good air circulation is key. When trimming the bud, the less it is handled the better as you don’t want to disturb those resinous THC covered trichomes too much. Handle them delicately, trim the sugar leaves closely, but not so close as to cut off any of those potent, resinous trichomes. Once the buds have been trimmed and cut to similar sizes, they are ready to be laid out on the mesh screens. Try to keep them from touching each other as much as possible to allow for good air circulation around each bud. Hang the screens in a dark, well ventilated, dry area, and use an oscillating fan set on low to keep a very light breeze blowing across the screens. Depending on the humidity of the environment, you may want to use a dehumidifier to speed up the process and prevent any molds from forming. It’s a fine balance! You want this to be a somewhat slow process as you do not want the buds to dry out too fast. As they dry slowly on the screens, check daily for when they feel crispy to the touch on the outside. This will probably take approximately three to four days, then it will be time to start the curing process.
What To Do After Drying Cannabis Flower?
Once your buds feel dry and crispy to the touch on the outside it will be time to start the curing process which requires bagging the cannabis inside airtight plastic bags. This process will cause any moisture deep within the plant to be drawn back towards the surface. Cannabis stems hold a lot of water, which needs to be pulled to the surface of the buds in order to complete the drying process. As the buds sit inside the airtight bags, the water content inside the plant material will naturally begin to regulate. The dry, crispy surface of the bud will pull the water from inside the stems back toward the surface to remoisturize and even out the moisture content. The first time you bag the flowers will be quite short, only an hour or two, as there is still plenty of water within the buds. Be sure not to crush or bruise them in the bagging process, never push down hard on the bags to remove the air. It’s best to just use Ziploc bags and a straw, to suck out any extra air, and seal. Leave them bagged until the buds feel moist on the surface and it will again be time to lay them out on the screens for the second stage of the drying process. The buds will appear much smaller and will take up less space but still be sure that they are not touching if possible. Again, leave them until the surface is dry and crispy to the touch.
Top 10 Tips for Curing & Storing Cannabis Flowers
Enjoying top quality cannabis flower relies on proper curing and good practices for long-term storage. There are many guides for how to effectively grow, cut, dry, and trim your cannabis plants, the final stages are just as important to the flavor, smoothness, and strength of your buds. The best results come from proven methods to cure and store your cannabis.
That is why we have put together our 10 top tips for curing and storing, to ensure that your buds are deliciously perfect whether you open those curing jars a few weeks or more than a year after the original harvest.
1) Cure at the Right Light, Temperature, and Humidity
Start by creating the perfect curing and storage environment for your cannabis. This requires the correct amount of light, along with the right ambient temperature and in-jar humidity.
Cannabis can be harmed by UV and bright lights, so you want a dark cabinet or a room lit with low levels of light.
Cannabis starts to decarb at high temperatures and will become brittle at low temperatures, so keep your cannabis between 50 and 70 °F
Humidity inside each cannabis jar should be between 40% and 50%. You can drop a little battery hygrometer in each jar to be sure.
2) Burp Your Cannabis On Time
During the first week, open your curing containers a couple times a day to release moisture and let in new oxygen. During all the weeks after that (whether you cure for 2 weeks to 6 months), “burp” the cannabis once every few days. This will help manage humidity and keep them at the right levels.
Use those little hygrometers to ensure that your cannabis is curing at the right humidity. If they get too humid, open the containers for a few hours. If they’re too dry, leave the jars closed for longer or add a moisture pack.
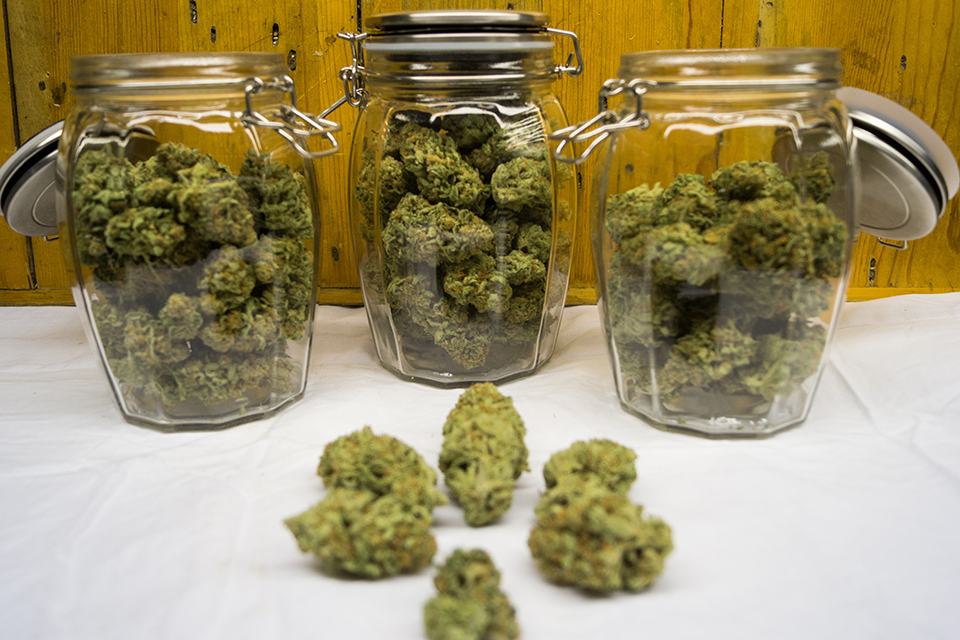
3) Choose Glass for Long-Term Storage
The best containers for both curing and storing cannabis flower is glass. Ideally, wide-mouthed glass mason jars with sealing 2-piece lids. Plastic is not ideal because many plastic containers are not oxygen-tight, and trichomes stick to the plastic. Plastic bags are the worst. Some plastic or silicone boxes might be OK, but the results are hit-or-miss from one product to the next.
But you can’t go wrong with glass jars. That is why you’ll mostly see cannabis cured and stored in glass.
4) Vacuum Seal the Buds for Optimal Durability
When the curing is done, you need to remove the extra oxygen to stop the curing process and prevent contaminants (like mold). The best way to do this is with a vacuum sealing kit for jars. Do not vacuum-seal into plastic bags for the reasons listed above.
A vacuum seal removes the excess air and seals the jar tight. This ensures that the cannabis stops curing, doesn’t dry out, and isn’t exposed to anything that could cause harm. In other words, it’s the perfect way to prepare your buds for safe long-term storage.
5) Consider Using Nitrogen Packs
Some cannabis growers use nitrogen packs to exchange oxygen for nitrogen when storing cannabis. The process involves placing cured cannabis in unsealed containers. Then food-grade nitrogen packs are placed in the containers which allows the nitrogen to replace oxygen in the air around the cannabis.
It should be noted that nitrogen flushing can be time-consuming and requires an additional material, but it can be effective. However, most prefer to vacuum seal instead.
6) Keep the Jars Out of Direct Light
For the same reason that you cure cannabis in a dark cabinet or dim room, it is also important to store your sealed cannabis jars out of direct light. As nice as cannabis jars look on display, they should not be placed or stored under bright lights or where sunlight can reach them.
To ensure that your cannabis lasts for months (up to 2 years) in storage, keep your jars in a dark or dimly lit place and protected from UV light.
7) Don’t Let Your Jars Get Too Warm
Home and business temperatures may vary from 40 °F to 80 °F in the winter and summer. However, cannabis needs to remain at a more moderate temperature. To prevent the downsides of chilled or overheated buds, keep your cannabis between 50 °F and 70 °F.
Don’t let the jars get too warm in a closed cabinet, especially during the summer when temperatures rise. This could cause early decarbing or decay. It’s also important to keep your jars in a warm-ish storage area in the winter, for the same reason cannabis shouldn’t be refrigerated or frozen.
8) Why Not to Freeze Your Cannabis
When you’re thinking about preserving cannabis, it can be tempting to pop those jars in the fridge or freezer, but don’t. Cold cannabis flowers are not a good thing. The terpenes will grow brittle and can easily shake off the buds if you chill or freeze your cured cannabis jars.
Refrigerators also have highly varying humidity levels, so the fridge is not a good place for open cannabis containers, either.
9) Keep the Jars Sealed Tight
Storing cured cannabis is a lot like canning food. Your organic buds will last longer in storage if you don’t open the jars after vacuum-sealing. This ensures just the right amount of air and humidity while keeping out harmful contaminants like mold spores or bacteria that want to eat those delicious flowers. Don’t pop open the jars to check on them once they enter the “storage” phase until you are ready to toke.
10) Open One Jar at a Time
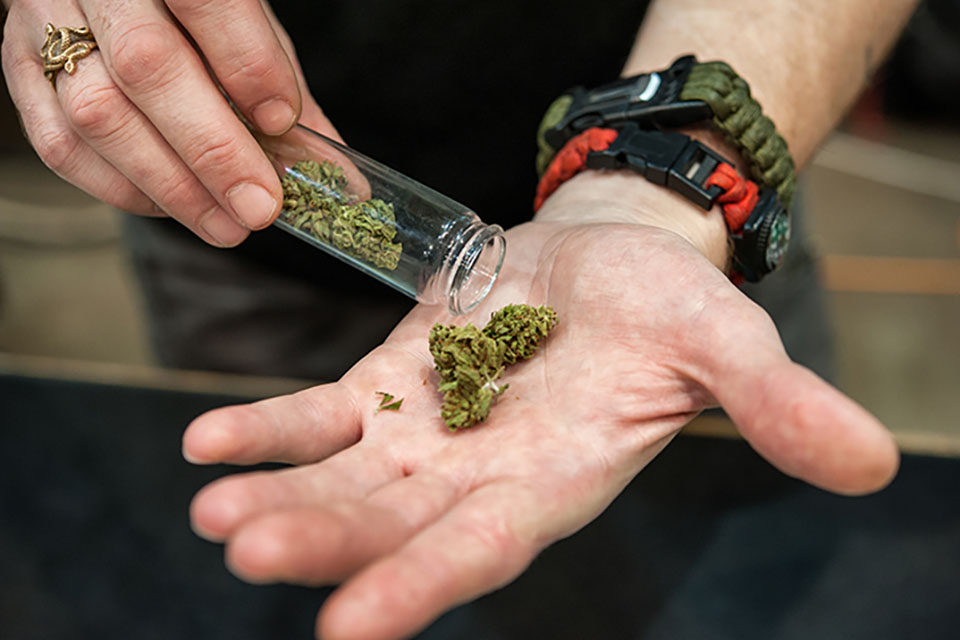
If you are storing cannabis for personal use, open one jar at a time to keep your cannabis in good condition when retrieving buds. If you’re worried about the buds at the bottom drying out before you finish the jar, there are a few ways to keep your supply safe while consuming one jar at a time.
Cure and/or store in smaller jars
Retrieve a few buds for your box or grinder, then reseal the jar for minimum moisture loss
Keep a personal small jar and retrieve one scoop at a time, then reseal the big jar.
Watch the hygrometer and drop a moisture packet, if necessary
Curing and storing cannabis is a combination of science and artistry. Once you master technique and timing, you can enjoy beautifully cured cannabis with a nice, long shelf life. To learn more about growing and processing your own cannabis plants, contact us today.
How To Cure Cannabis
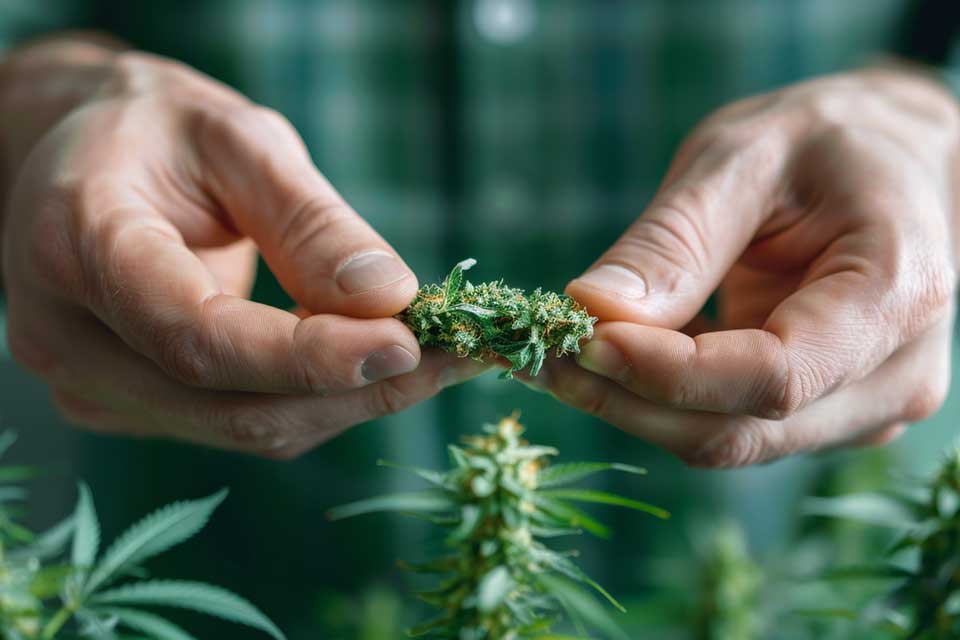
When curing cannabis, the drying and sweating process will continue in stages for as many times as it takes for the bud to fully cure. When the marijuana buds have completed their curing cycle, ideally, they will be somewhat moist, but not so dry and crispy they crumble to the touch. The stems will be dry enough to snap between your fingers, and the buds will feel dry and crunchy but still slightly spongy when you squeeze them. The process of laying the buds out to dry and sweating will continue for up to a week and as the days pass, the drying times will become shorter and the sweating times longer. It’s really just a process of learning how to feel when they are ready to switch once you become accustomed to how dry they need to feel when it’s time to sweat them, and how moist they should be when it’s time to lay them out again. At a certain point, within approximately a week, they should be ready to bag permanently. The stems should snap easily between your fingers, the buds feel dry enough to the touch, but not crumbly. The smell should be very pungent when the buds are bagged, and there should be no condensation seen inside the bags when they are closed. At this point leave them in the Ziplocs, opening and closing them once in a while, as they are still curing and giving off moisture. This is called burping the bags to let out any built-up moisture, which is the final step in the curing process. This can also be done in glass jars.
How Long Does Cannabis Take To Cure?
There is a very fine line between over drying and under drying your cannabis. Too dry and you lose the weight, along with degrading the THC cannabinoids and those medicinal, flavorful and aromatic terpenes. Too wet, and you risk mildew and molds forming which can destroy an entire crop within days, especially if left damp and enclosed in plastic bags. There is a perfect timing to drying cannabis, that just right stage where the moisture content holds the weight, preserves those precious cannabinoids and terpenes, and keeps the cannabis fresh for much longer periods of time if stored correctly. Curing is considered an art form to some, there are techniques that can take much longer and are very intensive but will create some of the smoothest tasting, most delicious and incredible smoke you’ve ever experienced. In general, using the popular screen mesh/bag sweating combination, if done properly and taking your time, can create a nice, smooth smoking quality product. This usually takes up to a week or more depending on the humidity level of your environment. Using the more involved hanging technique can take a little longer, but will produce some spectacular next level smoke. Usually utilized by cannabis connoisseurs that either grow their own, or by high end boutique cultivators catering to the most discerning clients, this can take up to two weeks or more. Sometimes called the box or hanging method this is the old school way of curing herbs such as marijuana, tobacco and other herbal plants.