Cannabis life cycle
Cannabis cultivation has been on the rise in recent years. Some people hope to build a business on the agricultural side of the marijuana market. Others simply want to create their own stockpiles of buds without having to rely on local dispensaries or other suppliers.
For quite a few, it’s all about being able to control the quality of the product they’re using. Some are even growing cannabis for the sheer satisfaction of nurturing plants from their beginning stages to a successful harvest. After all, gardening is known to help relieve stress. When you’re cultivating weed, you happen to end up with a finished product that does the same.
No matter what your reasons for growing marijuana may be, being aware of the various stages of the cannabis life cycle is the key to a bountiful harvest. Understanding the changing needs of your plants in each phase of the growing process is also essential. Once you’re aware of all the basics, you can take better care of your weed garden, keep it healthy, and see it through to fruition.
Cannabis: the Early Days
As is the case with most plants, cannabis starts its life as seeds. Those seeds contain DNA from parent plants that will give the offspring all its traits and effects. Each seed holds all the genetic material it will need to grow into the gorgeous marijuana plant it’s destined to become. Of course, how the seed is cared for along the way will determine whether it fulfills its destiny.
Healthy, viable weed seeds will have a hard, dry outer shell and be light to dark brown in color with rough striped patterns on them. Sub-par seeds will be white or green in color, and their outer coverings will be flimsy. Those sickly seeds aren’t likely to germinate at all. If they do, they’ll probably grow into problematic plants that just won’t thrive.
Since hearty seeds pave the way to a flourishing pot crop, it’s crucial to get your seeds from a trusted supplier like us. Here at Kind Seed Co, we take care to ensure all the seeds we make available to our customers are in perfect shape. We handle them with care and store them under optimal conditions to guarantee they’re viable when they reach you.
Whether you’re looking for high-CBD strains or ample amounts of THC in your harvested buds, you’ll find them here with us. Feel free to peruse our selection to find strains that produce the effects you’re looking for. When you’ve made your choice, you can count on us to give you all the information you need to grow them into bud-laden plants.
Storing Your Seeds Properly
After your pot seeds arrive at your door, it’s important to store them properly until you’re ready to start your garden. They should be kept in a cool, dark, dry place. Never store them in direct sunlight or in an area where they could be exposed to moisture. Doing so will damage the fragile genetic material inside the seeds and greatly reduce your chances of a favorable outcome.
Ideally, it’s best to keep your cannabis seeds in a ziplock bag in the refrigerator until time to start the growing process. Alternatively, you could store them in a climate-controlled closet. Don’t keep them in the freezer because the sub-freezing temperatures will destroy their internal mechanisms, and they’ll never sprout.
Germinating Your Cannabis Seeds
All that brings us to the beginning phase of your weed-gardening adventure. When you’re ready to start your garden, you can remove the seeds from their safe place and germinate them. There are several methods of germination, but a couple of them are simpler and more effective than others. In fact, they’re probably more effective because of their simplicity.
The Soaking Strategy
One of the most common strategies for germinating marijuana seeds is soaking them in a small cup of water. Get your seeds out of their cool, dark place several hours ahead of time, so they can come to room temperature. Run some water into a clean cup, and let that come to room temperature as well.
From there, put the seeds into the water and place the cup in a warm place out of direct sunlight. Let them soak for 12 to 24 hours until their shells pop open and a tiny taproot emerges. Avoid leaving the seeds in the water for more than 24 hours as they’ll start to break down and will no longer be viable.
The Paper Towel Approach
Another way to germinate your marijuana seeds is to use the paper towel method. You’ll need to place a few paper towels on a plate or in a sealable container. Moisten the paper towels a bit and place the seeds between them. Then, place the lid on the container or lay a paper plate on top of the setup. Either way, be sure to keep them in a warm, dark place until the seeds successfully germinate.
You’ll need to continually moisten the paper towels by spraying water on them. Try to avoid adding too much moisture to the mix because doing so could damage the seeds. Also avoid letting the paper towels dry out. Seeds need the right balance of moisture and air to soften their shells and unleash the power within without drowning. With this germination method, the taproot could take a few days to appear.
Considering Other Options
Those are only a couple of the germination strategies people use. You could also place the seeds in a small cup filled with a seedling starter. Keep the cup warm by placing it on a heating pad much like keeping an egg warm until it hatches. Don’t get them too hot, though. Again, that power-packed genetic material inside the seeds is fairly fragile. Add a little moisture to the mix along the way.
Having said all that, there’s no hardcore rule that says you have to germinate your weed seeds before planting them. This extra step just gives them a bit of a head start in life and makes sprouting easier once they’re actually in their growing medium. While germination isn’t absolutely essential, it’s definitely recommended.
Planting Your Pot Seeds
After those little taproots escape the confines of their shells, it’s time to plant them and get your ganja garden underway. It’s best to start off by planting your seeds in small containers until they’re strong enough to survive the big, wide world. They don’t need fertilizer at this early stage of their lives. Seeds have enough food stored inside to feed the baby sprouts for a couple weeks or so.
Giving them fertilizer too soon could burn them. Providing too much heat or light at this point will have the same effect. Just keep the soil slightly moist and keep your newborn plants in a warm place where they can get a little light. During the next week or so, the taproot that emerged during germination will grow down into the growing medium and branch out. You’ll also see a tiny green stem emerge from the soil, and a couple of small, oval leaves will appear.
Coddling Your Seedlings
Congratulations! At this point, you’ve taken a handful of unassuming seeds and nurtured them into seedlings. This is the stage where things start to get more interesting. Once those first little leaves appear, you can start giving the plants extra light. If you’re growing them outdoors, the light and heat are automatically regulated as long as you plant them at the right times.
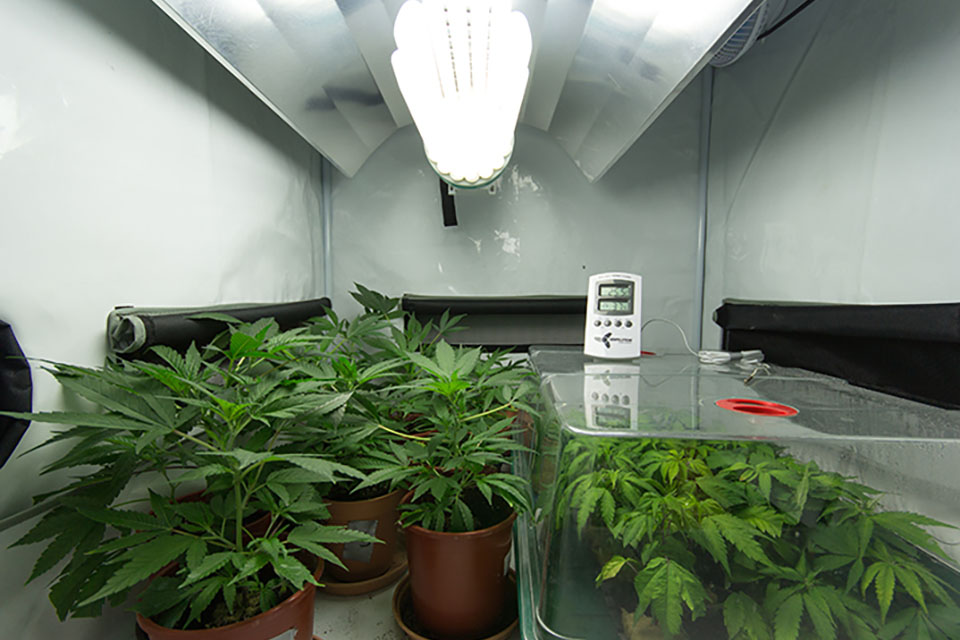
While seedlings crave light and heat, you’ll need to be especially cautious at this point if you’re growing them indoors. They need to be kept at about 70 to 80 degrees, but be sure the grow lights aren’t too close to the fragile starter leaves. If the light feels overly hot on the back of your hand when you hover over the tops of the seedlings, it’s most likely too hot and too close.
Standard fluorescent lights may suffice right now, but you’ll need to upgrade fairly soon. Timing is important, too. Consider taking your cues from the great outdoors. If it’s daylight outside, keep the grow lights on. When the sun goes down, turn them off.
Keep the soil or growing medium moist to the touch but not saturated, so the plants don’t drown. Be sure the plants’ containers are draining properly as well. Over the next few weeks, you’ll see more leaves emerge, and they’ll have the saw-toothed edges you’d expect to see on a marijuana plant.
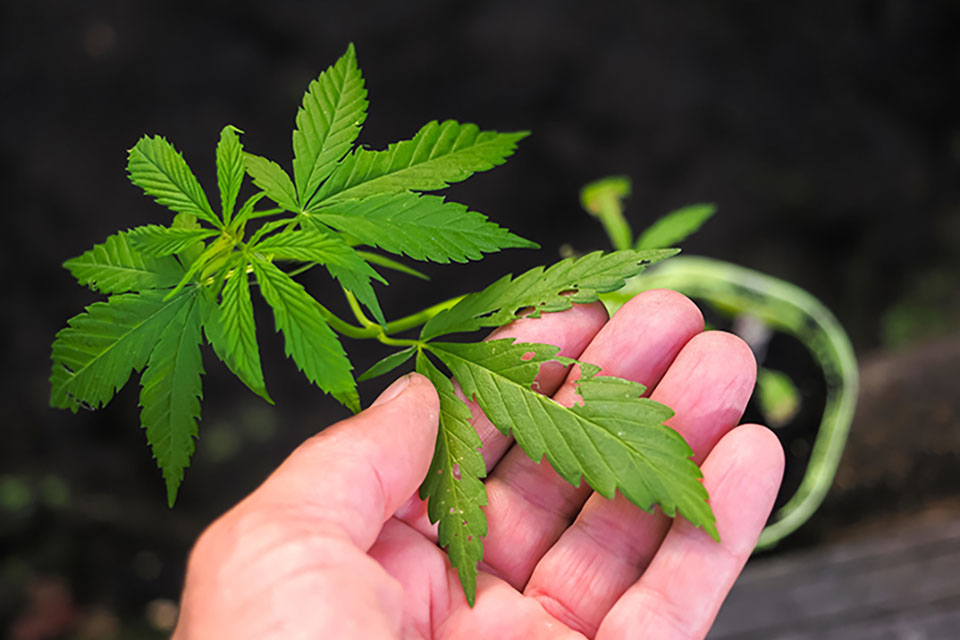
Venturing into the Vegetative Stage
After a few weeks, your seedlings will start to develop some small, fan-like leaves that clearly indicate they’re cannabis plants. They’ll also start to outgrow their starter pots if they’re being grown indoors. That’s when the vegetative stage officially begins.
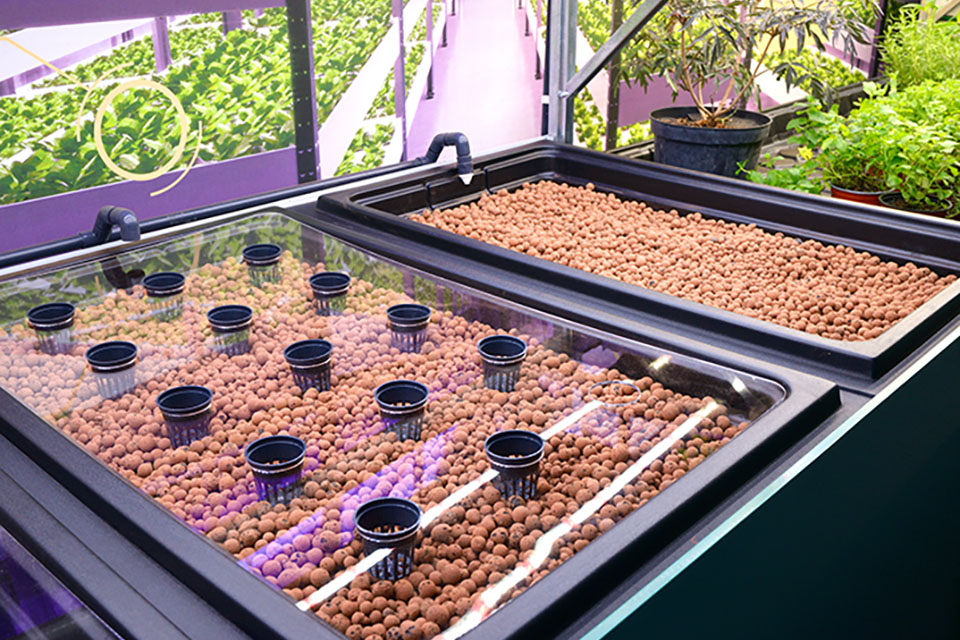
When the plants enter the vegetative stage, they need to be transplanted into their permanent growing area whether it be a hydroponic system, pots, or a garden plot. Light and temperature become even more important to their growth and development. Giving the plants extra nutrients becomes critical as well. They’ve already burned through the food that was stored in their seeds, so they’re ready for another meal.
Plants need a variety of nutrients, but the most crucial are nitrogen, phosphorus, and potassium. During the vegetative stage, nitrogen is the most essential of the three. It gives the plants the power to use nutrients and sunlight to make food so they can grow and build their stockpiles of cannabinoids and other compounds.
Keep your plants cozy at about 70 to 80 degrees during the vegetative stage. Give them about 18 hours of blue light per day because that’s what they would get outside in the sunshine. Switching from fluorescent light to metal halide lamps or blue-spectrum LEDs is recommended though you can opt for a full-spectrum grow light. Turn the grow lights off for about six hours at night to let the plants recharge and get ready for another day’s growth.
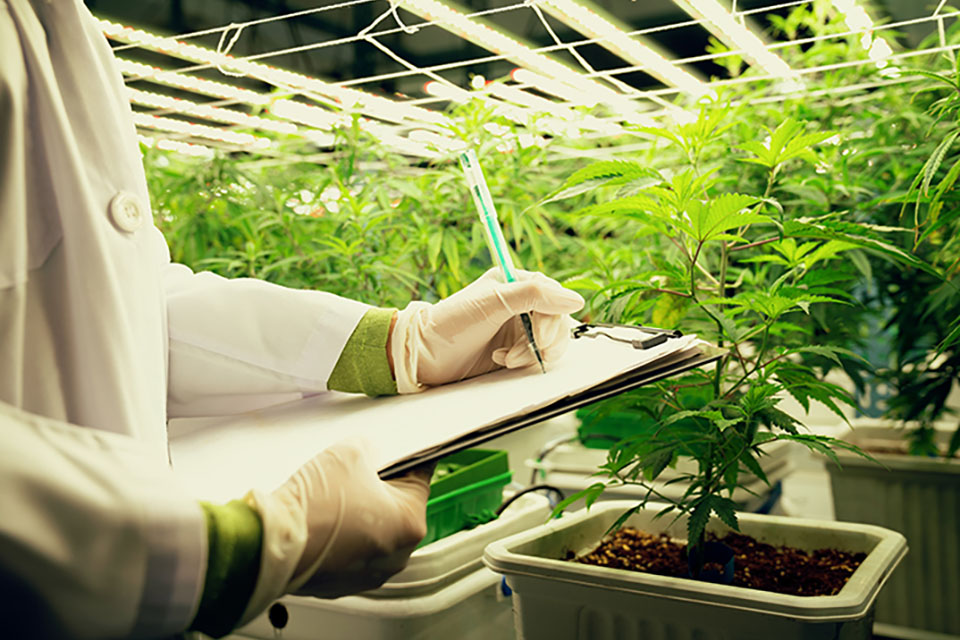
Controlling Your Cannabis’s Quality
Roughly six weeks into the vegetative stage, your plants will start to mature. In other words, they’ll start letting you know whether they’re male or female. If you’re like most growers, you’ll want to remove the male plants from your garden so they won’t pollinate the females, leave you with a bunch of seeds, and detract from the potency of the buds later on in the growth cycle. Of course, to do that, you’ll need to be able to determine the gender of the plants.
That’s only an issue if you’re growing standard weed seeds. You can eliminate the guesswork by choosing feminized seeds. Feminized seeds don’t have male DNA, so they can’t develop into male plants. They’ll give you a generous crop of all-female plants that are bound to produce juicy, potent buds.
Progressing to the Flowering Phase
Depending on the strain you’re growing, the vegetative stage could last anywhere from a few weeks to a few months. Since marijuana is a photoperiodic plant, with the exception of autoflowering strains, it relies on the type and amount of light it receives to tell it when to enter the flowering stage.
Outdoors, your plants will start flowering when summer starts giving way to autumn. At that point, the days start getting shorter and cooler, and sunlight transitions from blue to the red and orange areas of the spectrum. You’ll need to take away the blue grow lights and replace them with high-pressure sodium lamps or red LEDs.
It’s also necessary to reduce the amount of light the plants receive from 18 hours per day to 12. Otherwise, the plants will stay in their vegetative stages indefinitely. During the flowering stage, the plants will need to be kept at around 65 to 78 degrees to mimic the cooler temperatures of fall.
Those plants will still need extra nutrients to keep flourishing, but their nutritional needs change when they enter the flowering stage. They basically stop growing at this phase and start directing their energy into making buds. As such, they’ll need less nitrogen and more phosphorus and potassium to produce the potent buds you’re hoping for.
Reaping the Rewards of Your Efforts
That, in a nutshell, is the life cycle of cannabis plants. They start out as tiny seeds and sprout into seedlings. From there, they develop into big, beautiful plants and ultimately produce ripe, juicy buds that are ready to be harvested. Now that you understand the plants’ life cycle and what it takes to nurture them through each stage, you’ll be able to grow your own stockpile and reap the rewards of all your time and effort.