
How to grow weed indoors for beginners
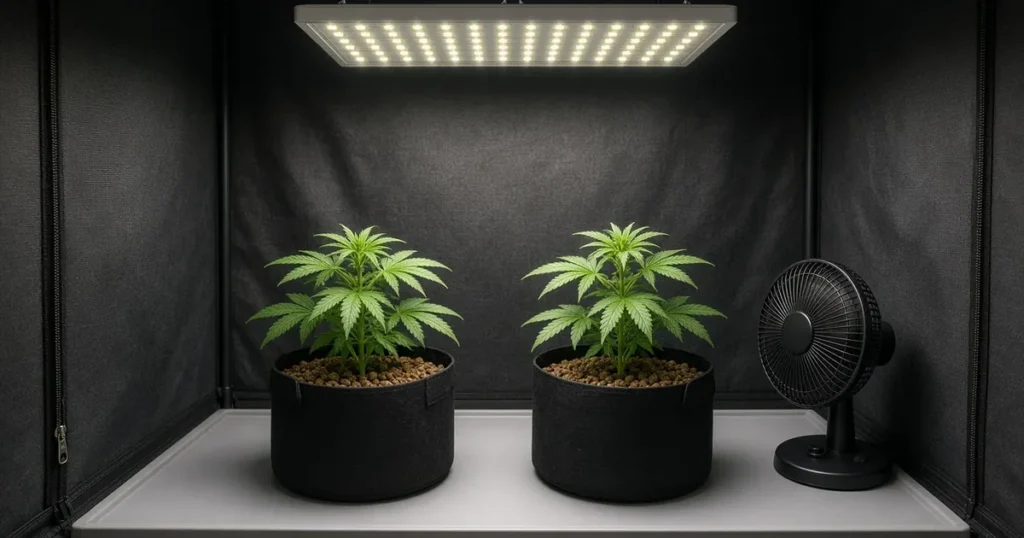
To grow weed indoors as a beginner, you need five things: a private space such as a grow tent, a quality full spectrum LED light, an exhaust fan with a carbon filter, a forgiving medium like potting soil in fabric pots, and beginner friendly seeds. Set the space up before you germinate, keep the light schedule steady, water only when the pot feels light and feed gently. This guide is your indoor setup hub, with links to our deeper guides on each step.
If you want the full big picture, from seed choice to curing, read our ultimate beginner’s guide to growing cannabis. This page focuses on building and running your indoor setup.
Step 1: Check the law and choose your space
Home grow is legal for adults 21 and older in many states, but each state sets its own plant limit, privacy rules and security rules. Most require plants to be kept out of public view and away from anyone under 21. Some cities add their own rules, and leases can restrict growing. Check your state and local rules first. This is general information, not legal advice.
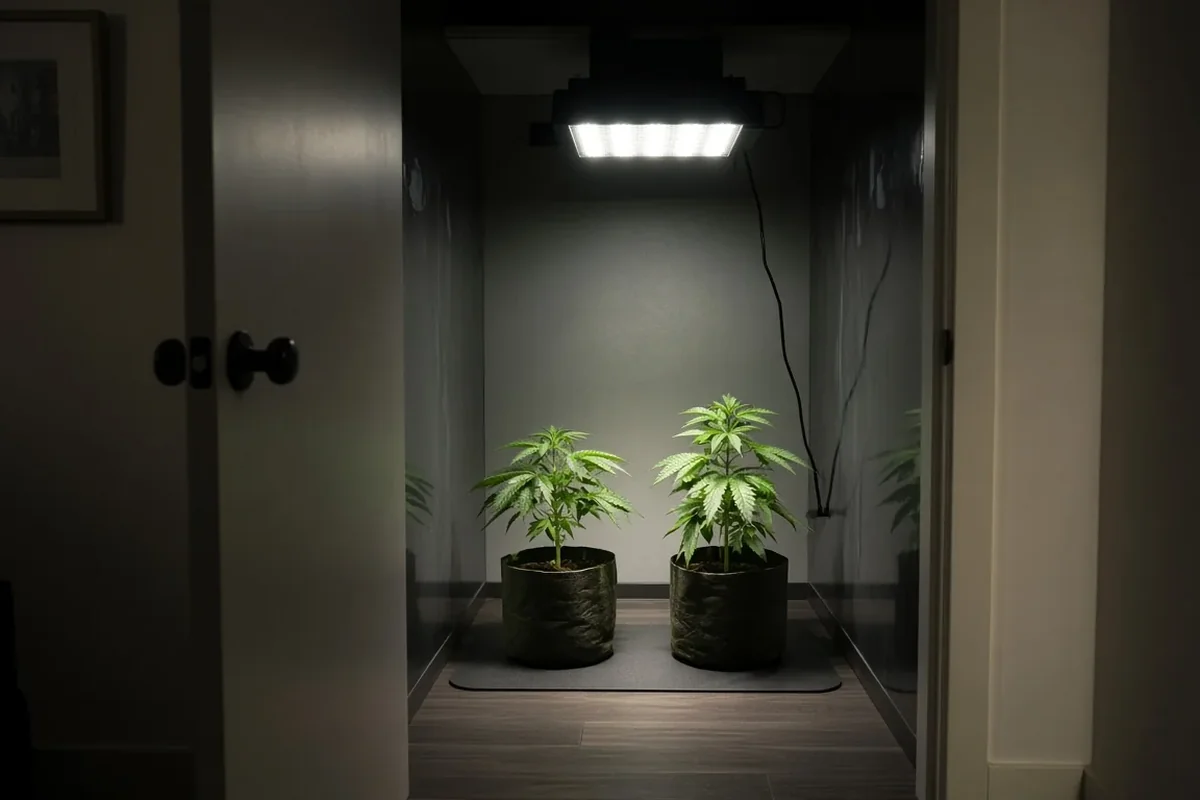
Then pick your space. Good options include:
- A grow tent in a spare room, basement or closet. Tents are the easiest choice for beginners because they are light tight, reflective and built for fans and filters.
- A closet with good ventilation. Workable, but harder to control light leaks and heat.
- A spare room. Great for bigger grows, but you will need to control light, air and odor across a whole room.
Look for a spot with a nearby outlet, a stable room temperature and somewhere for exhaust air to go.
Step 2: Get the right equipment
You do not need everything on the market. This is the core kit.
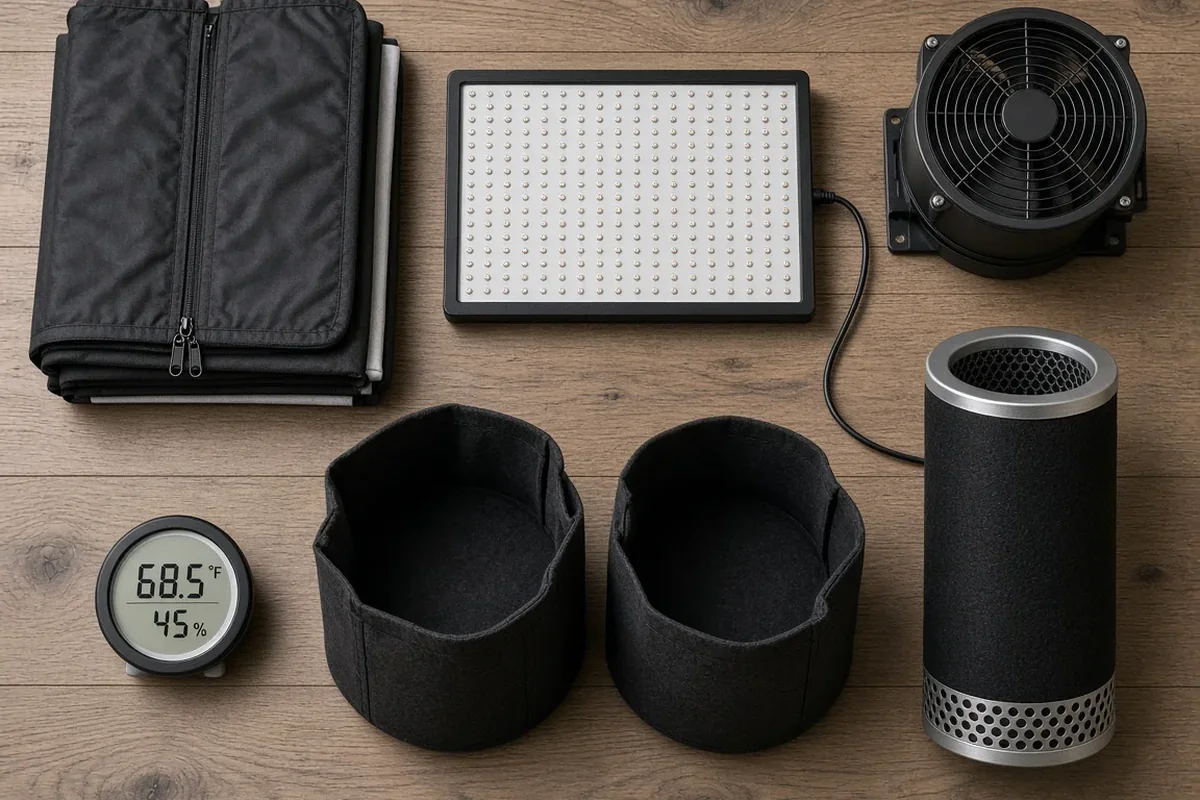
| Item | Why you need it |
|---|---|
| Grow tent | Holds light in, keeps the grow private and tidy |
| Full spectrum LED | The most important piece. It powers growth |
| Inline exhaust fan | Pulls out hot, humid air |
| Carbon filter | Removes odor from exhaust air |
| Clip fan | Moves air around plants and strengthens stems |
| Timer | Keeps the light schedule exact |
| Fabric pots | Let roots breathe and reduce overwatering |
| Potting soil | Forgiving medium with built in nutrients |
| Thermometer and hygrometer | Shows temperature and humidity |
| Basic nutrients | Feed plants once the soil’s nutrients run low |
Size your LED to your tent. Light makers list a recommended coverage area. Buying a light that is too weak for the space is one of the most common beginner regrets.
Step 3: Choose beginner friendly seeds
Start with seeds that forgive mistakes. Our beginner seeds collection groups the most forgiving genetics in one place. Two good routes:
- Autoflowers like Blue Dream Auto flower on their own and stay small. Great for a first tent.
- Feminized photoperiods like Northern Lights give you more control and more time to recover from mistakes.
For more ideas, see our list of the best cannabis seeds for indoor growing.
Step 4: Set up the tent before you germinate
Build and test everything a few days before your seeds go in.
- Assemble the tent and check for light leaks with the light on and the room dark.
- Hang the LED at the height the maker recommends for seedlings.
- Mount the carbon filter and exhaust fan at the top of the tent, since warm air rises.
- Clip a small fan inside so leaves gently move.
- Plug the light into a timer.
- Run everything for a day and watch the temperature and humidity.
Aim for conditions that feel comfortable to you: not hot, not cold, not sticky. Seedlings like a bit more humidity. Flowering plants like less.
Step 5: Pick your medium
For beginners, soil is the most forgiving choice. It holds water and nutrients and buffers mistakes. Our guide to growing marijuana indoors with soil covers soil in more detail.
Coco coir and hydroponics grow faster but need more frequent feeding and closer attention. Save them for your second or third grow.
Step 6: Germinate and plant
A simple method:
- Place seeds between damp paper towels on a plate and cover with another plate.
- Keep them warm and dark.
- When a white taproot appears, plant it root down about a knuckle deep in moist soil.
- Keep the soil lightly moist, not soaked, until the seedling breaks through.
Autoflowers should go straight into their final pot. Photoperiods can start in a small pot and move up later.
Step 7: Set your light schedule
- Autoflowers: run a long daily light schedule from seed to harvest. Many growers use 18 hours on and 6 off.
- Photoperiods in veg: 18 hours on and 6 off is the common choice.
- Photoperiods in flower: switch to 12 hours on and 12 hours off. The dark period must be truly dark.
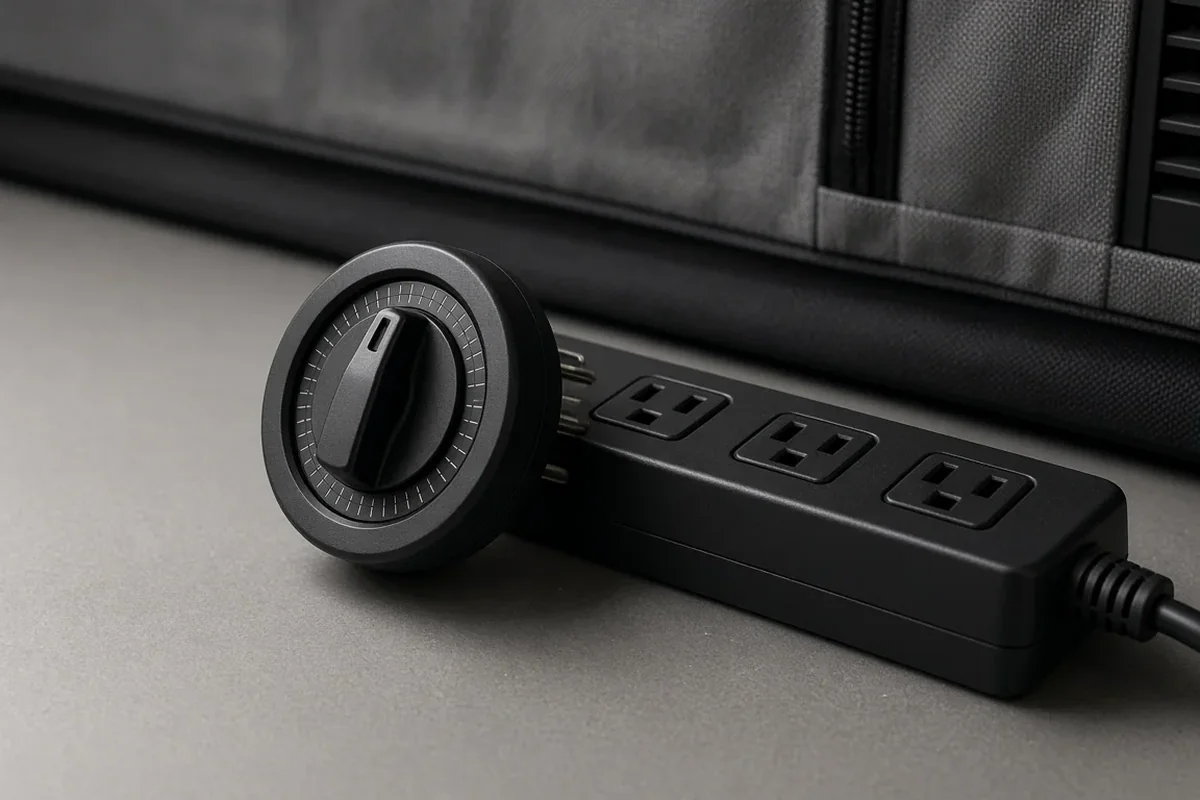
Your timer makes this automatic.
Step 8: Water and feed
- Water when the pot feels light and the top inch of soil is dry.
- Water until a little runs out the bottom, then empty the tray.
- Start nutrients at a reduced strength once the soil’s built in food runs low, usually a few weeks in.
- Watch the leaves. Pale and yellow can mean hungry. Dark green and clawing can mean too much.
Step 9: Train, flower and harvest
Gentle low stress training, which means bending and tying branches outward, helps light reach more bud sites. Photoperiods can also be topped during veg. Once flowering starts, lower humidity, keep air moving and watch for mold in dense buds. Harvest when most pistils have darkened and the trichomes look cloudy, then dry slowly in the dark and cure in jars.
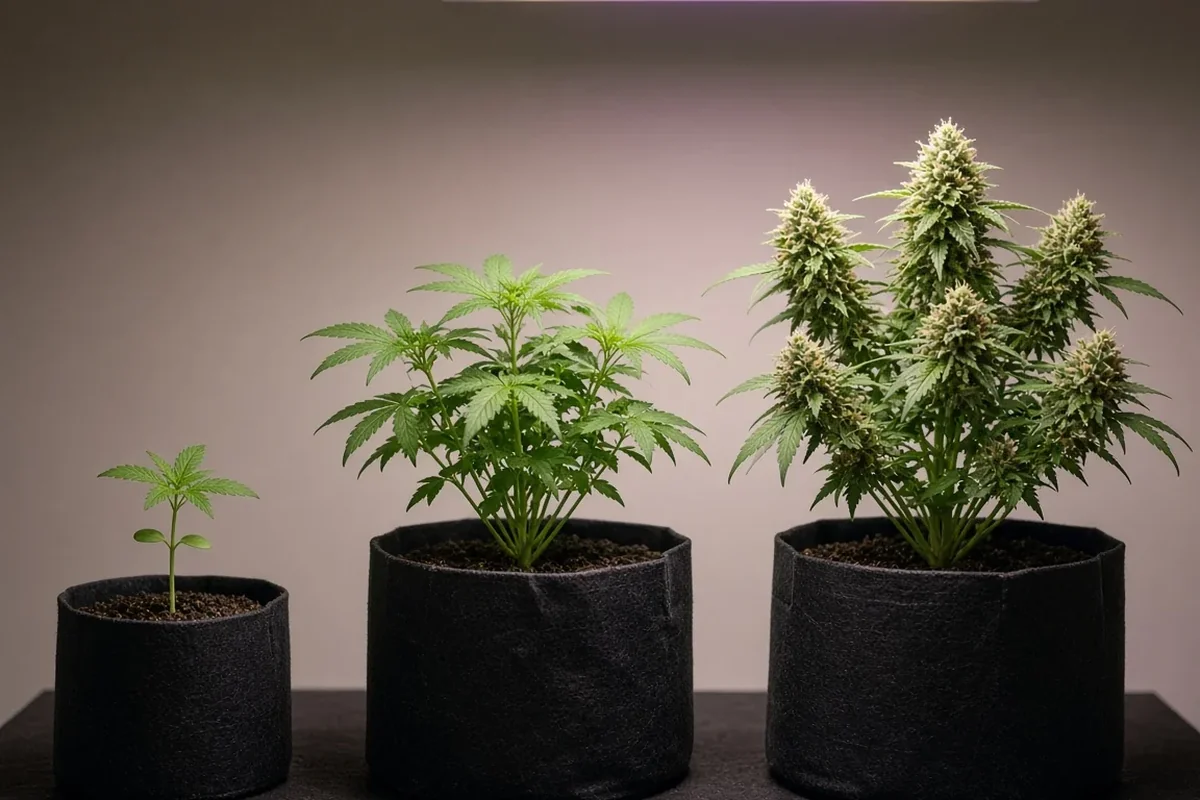
Indoor timeline at a glance
| Stage | What to focus on |
|---|---|
| Germination and seedling | Gentle light, light watering, steady warmth |
| Vegetative growth | Training, steady feeding, strong airflow |
| Early flower | Lower humidity, support branches |
| Late flower | Watch for mold, check trichomes |
| Dry and cure | Slow drying in the dark, then jars |
Check each product page for that strain’s expected timing.
Common indoor beginner mistakes
- Germinating before the tent is set up and tested.
- Buying a light too weak for the tent.
- Skipping the carbon filter.
- Overwatering.
- Feeding full strength too early.
- Light leaks during the dark period for photoperiods.
- Letting the tent get too humid in late flower.
Frequently asked questions
How much does it cost to start growing weed indoors?
Costs vary with tent size and gear quality. A small tent kit with a quality LED, fan, filter and pots is the main investment. After that, ongoing costs are mostly soil, nutrients, seeds and electricity.
What is the best light for growing weed indoors?
A quality full spectrum LED sized for your tent. LEDs run cooler and use less power than older light types, which makes them the standard for home growers.
How many plants can I grow indoors?
That depends on your state’s legal limit and your space. One to three plants is a good start for a beginner tent.
Does an indoor grow smell?
Yes, especially in flower. An exhaust fan with a carbon filter is the standard way to control odor, and many state laws expect you to manage it.
Should a beginner grow autoflowers or photoperiods indoors?
Both work. Autoflowers are simpler and faster. Photoperiods give more control and more time to recover from mistakes.
Start your first indoor grow
Set up your space, test it, then plant forgiving seeds and keep things simple. When you are ready, browse the Kind Seed Co beginner seeds collection and pick your first indoor strain.