Environmental Controllers for Grow Rooms
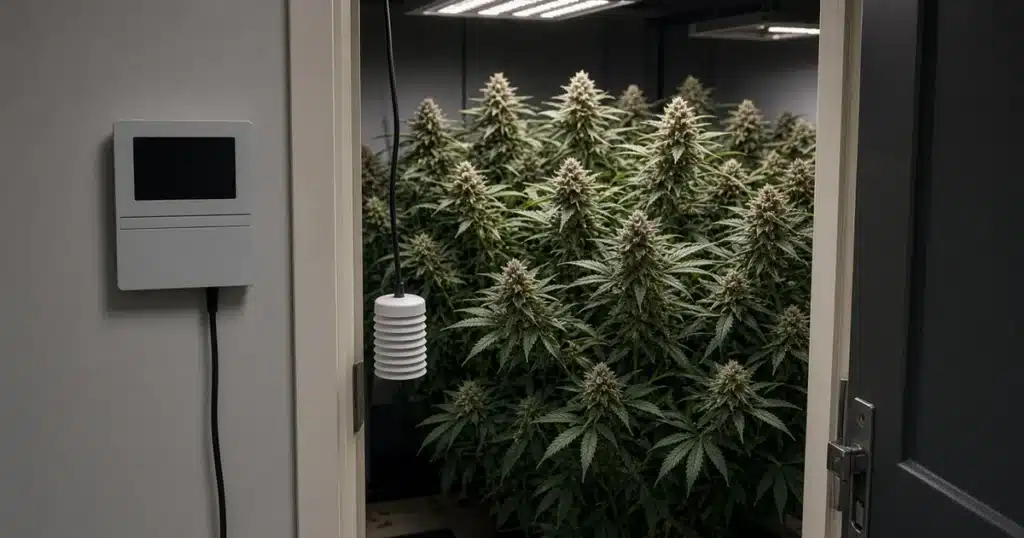
Quick answer: An environmental controller switches your fans, heater and humidity equipment on and off from sensor readings, so the room holds steady without constant hands on adjustment. The two things that matter most are a small switching gap, which Extension calls the differential, and a sensor placed where the plants are. Extension greenhouse guides recommend mounting sensors level with the plants in the middle of the space, shaded from light and inside a white box with a small fan. Tests at Rutgers found that aspirating a thermostat that way narrowed the greenhouse temperature spread from 8°F to 2°F.
What Does an Environmental Controller Do?
An environmental controller runs your climate gear from sensor readings, in place of several separate switches. A basic thermostat turns a heater on at one temperature. A humidistat turns a humidifier or dehumidifier on at one humidity level. A controller reads both and decides which device to run, often with timers and day and night settings built in.
The UMass Extension greenhouse ventilation fact sheet reports that stepping control up in stages, with a two stage thermostat, a temperature controller or a computer, saves energy and holds conditions better than one simple on and off switch. In a greenhouse, fans can then ramp up as heat builds instead of slamming on at full speed.
The UMass Extension guide to mist and fog equipment describes the humidity side. It explains that a humidistat is a switch that senses humidity and activates equipment at a preset point. Fog systems, it adds, often run from a controller that measures vapor pressure deficit, and that VPD is a better guide than humidity alone because relative humidity changes with temperature. Our cannabis VPD chart shows the targets many growers program into a VPD capable controller.
Both fact sheets target commercial greenhouses and propagation, not cannabis rooms. The control ideas carry over because the hardware does the same job.
Controllers come in a few broad styles. The simplest is a plug in unit with one sensor and a few switched outlets, each tied to a temperature or humidity setpoint. Mid range models add timers for lights, day and night settings and alarms. Larger systems run many outputs from several sensors and log the data so you can see what happened overnight. The right choice depends on how many devices you run and how much the room swings on its own.
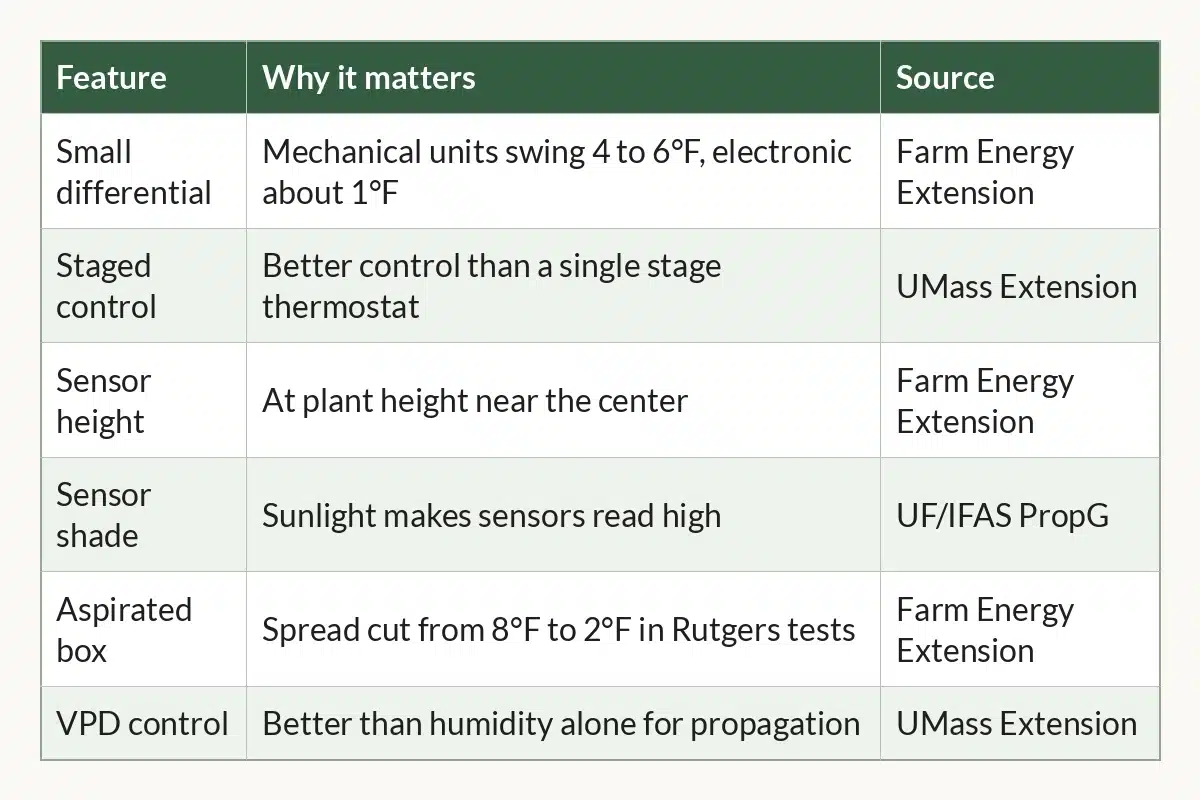
Controller Features at a Glance
| Feature | Why it matters | Source |
|---|---|---|
| Small differential | Mechanical units swing 4 to 6°F, electronic about 1°F | Farm Energy Extension |
| Staged control | Better control than a single stage thermostat | UMass Extension |
| Sensor height | At plant height near the center | Farm Energy Extension |
| Sensor shade | Sunlight makes sensors read high | UF/IFAS PropG |
| Aspirated box | Spread cut from 8°F to 2°F in Rutgers tests | Farm Energy Extension |
| VPD control | Better than humidity alone for propagation | UMass Extension |
Why Does the Differential Matter?
The differential is the gap between when a device switches on and when it switches off. The Farm Energy Extension guide to greenhouse thermostats explains that mechanical thermostats usually have a differential of 4 to 6°F. With a 5°F gap and a 60°F setpoint, it says, the heater starts at 60°F and keeps running until 65°F.
That overshoot costs money and makes conditions swing. The same guide says electronic thermostats have a smaller differential, usually about 1°F either way, and control temperature more accurately. It adds that electronic models often include remote sensing, digital displays and day and night setback.
Indoors, a tight differential lets fans, heaters and humidity gear cycle more gently around the target. Look for a controller that lets you set the gap yourself, and start with a small one.
Where Should You Place Controller Sensors?
Where the plants are. Farm Energy Extension makes the point simply: the sensor has to sample the same air the crop is living in. It suggests mounting it level with the plants, toward the middle of the growing space. Walls are a poor choice, it adds, and so is any spot beside a heating pipe or in the path of air blowing from a duct. Shade the sensor from direct sun as well.
The UF/IFAS PropG page on temperature sensors gives the reason for shade. Sensors exposed to sunlight will overestimate air temperature. It recommends housing them in units painted white or another reflective color, with a small fan moving air across the sensor for a better sample.
The payoff shows up in the Farm Energy guide. In tests at Rutgers University, aspirating the heating thermostat in a white box with a small muffin fan cut the greenhouse temperature spread from 8°F down to 2°F.
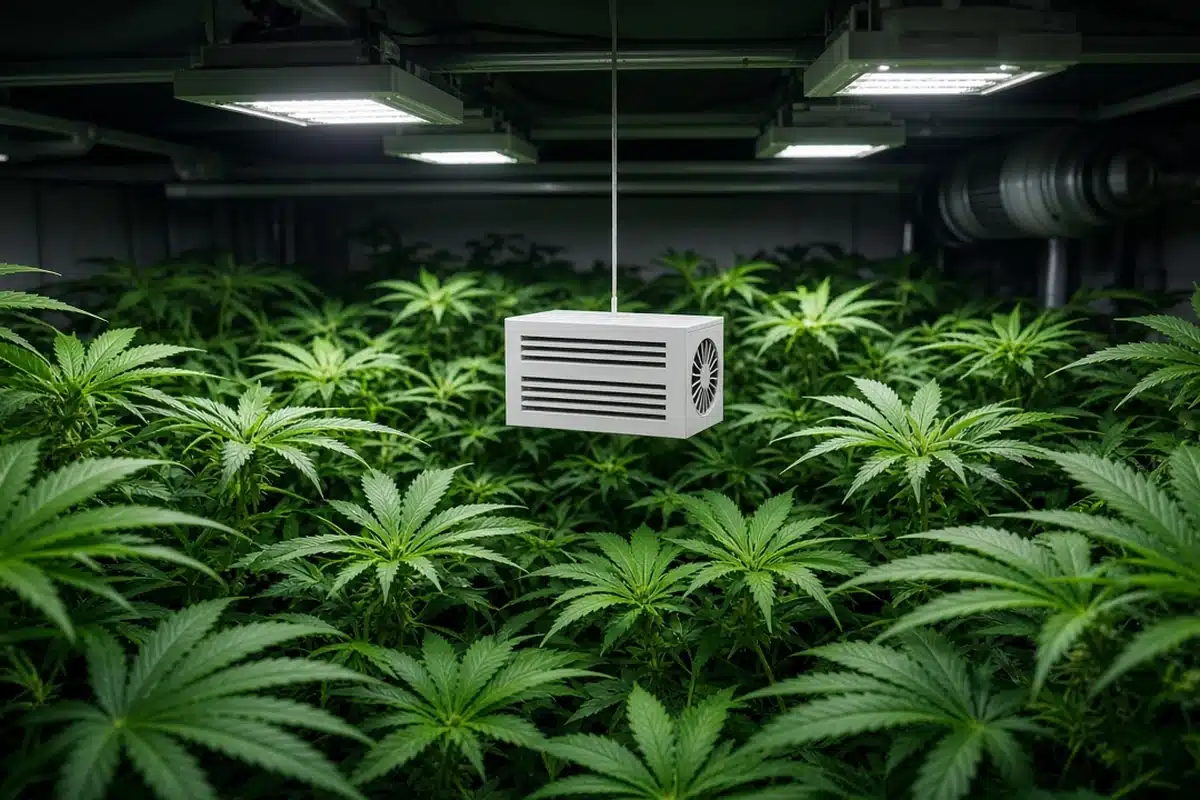
The same logic holds under grow lights. A bare sensor hanging in direct light can read warmer than the leaves themselves feel. A shaded, ventilated housing gives the controller truer numbers to act on.
Humidity probes need the same care. A probe sitting in the stream from a humidifier will read high and shut the unit off early, while one near a dehumidifier exhaust will read low. Set every probe in the same shaded spot among the plants so temperature and humidity are measured in the same air. That also keeps any VPD figure the controller calculates honest.
How Do You Set Up a Grow Room Controller?
- List the devices it will run. Exhaust fan, heater, humidifier, dehumidifier and lights each need an output or a relay.
- Check each output’s rating. Large loads may need a separate relay rather than direct switching.
- Mount the sensor at canopy height in the middle. Farm Energy Extension wants it level with the plants and away from the walls.
- Shade and aspirate it. UF/IFAS advises a reflective housing with a small fan.
- Keep it away from vents and heaters. Blowing duct air or a nearby heat source throws readings off, Farm Energy Extension warns.
- Set a small differential. Start tight and widen only if devices cycle too often.
- Use staged steps where you can. UMass says staged control beats a single stage thermostat.
- Check calibration yearly. Farm Energy Extension advises an accuracy test on every thermostat once a year or more often.
For more gear that pairs well with a controller, see our roundup of smart tech for the grow room and our list of helpful grow gadgets.
How Do You Check a Controller’s Accuracy?
With an ice bath and a good thermometer. Farm Energy Extension walks through the method. First check the thermometer by placing it in ice water, where it should read 32°F. Then set it beside the thermostat sensor, out of direct light, and let it settle. Slowly raise the setpoint until the heater switches on. The thermostat reading should match the thermometer. If it does not, note the difference.
The guide adds that thermostats tend to lose accuracy over time. It suggests cleaning dust off the sensor and checking wire connections while you test. A controller with remote sensors needs the same care, since a dusty or misplaced probe gives bad readings to every device it controls.
Accuracy pays, and the guide shows why. Its example greenhouse wasted heating money when the thermostat sat only 1 to 2 degrees too high. A small error repeated through every cycle adds up over a season, whether the device is a heater, a fan or a dehumidifier.
Troubleshooting Grow Room Controllers
The heater overshoots every cycle. The differential is too wide. Farm Energy Extension notes that mechanical thermostats run 4 to 6°F, so a tighter electronic unit may help.
The room reads fine but the canopy feels hot. The sensor may be in the wrong spot. Move it level with the plants in the middle of the room, as Farm Energy Extension advises.
Readings jump when the lights come on. The sensor may sit in direct light. UF/IFAS says exposed sensors overestimate air temperature.
Fans and heater fight each other. The setpoints overlap. Leave a gap between the cooling and heating targets so both cannot run together.
Readings drift over months. Calibrate yearly with the ice bath method and clean the sensor, as Farm Energy Extension recommends.
Sources
- Farm Energy Extension, Selecting and Maintaining Greenhouse Thermostats: https://farm-energy.extension.org/selecting-and-maintaining-greenhouse-thermostats/
- UF/IFAS PropG, Temperature Sensors: https://propg.ifas.ufl.edu/02-environment/03-temperature/04-temperature-sensors.html
- UMass Extension, Ventilation for Greenhouses: https://www.umass.edu/agriculture-food-environment/greenhouse-floriculture/fact-sheets/ventilation-for-greenhouses
- UMass Extension, Mist and Fog Equipment for Propagation: https://www.umass.edu/agriculture-food-environment/greenhouse-floriculture/fact-sheets/mist-fog-equipment-for-propagation
FAQ
Is a controller better than a thermostat?
A thermostat runs one device. UMass found that staged controllers hold conditions better than a simple one step thermostat.
Where should the temperature probe go?
Level with the canopy in the middle of the room, shaded and away from vents, according to Farm Energy Extension.
What differential should I use?
As small as your equipment handles without rapid cycling. Electronic thermostats manage about 1°F, says Farm Energy Extension.
Should my controller use VPD?
UMass notes that VPD is a better guide than humidity alone for propagation because relative humidity changes with temperature.
How often should I calibrate?
At least once a year, Farm Energy Extension advises, using an ice bath to check your thermometer first.