Grow Light Lens Cover Light Loss: Cleaning and Replacing Covers
The short answer
Grow light lens cover light loss starts the day you fit one, since every clear shield absorbs a little. Dirt and yellowing cut output further over time. Check the maker’s transmission figure, clean covers often and replace any that cloud. Covers shield diodes from dust and moisture but do not change how light spreads.
Covers suit humid rooms, dusty spaces and setups where plants or hands brush fixtures.
What does a grow light lens cover do?
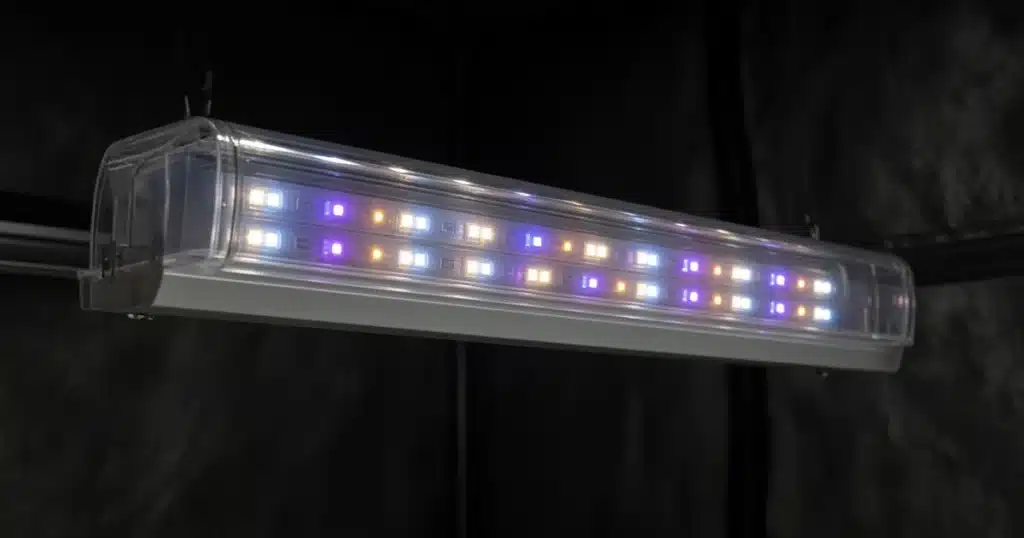
Many LED fixtures have bare diodes. Dust, spray mist and humidity settle right on them. A cover puts a clear layer between the diodes and the room.
Covers hold fine dust off the diodes, and they shed water droplets from foliar spraying. They shield diodes from a stray bump when you move plants or work under the light.
Some fixtures ship with a cover. Others offer one as an add on. A few use individual lenses over each diode, which shape the beam too.
The University of Missouri Extension guide to grow lights explains how fixture design affects output and light distribution. Covers and lenses are part of that design.
How much light does a cover block?
Every cover absorbs or reflects some light. The share that gets through is the transmission figure. Clear glass and clear polycarbonate pass most light. Frosted or textured covers pass less.
The Resource Innovation Institute lighting guide stresses measuring light at the canopy and maintaining fixtures. Covers that collect grime or yellow over time can lower output well below the fixture’s rating.
| Material | Benefit | Trade off |
|---|---|---|
| Tempered glass | Resists scratches and yellowing | Heavier, can crack if knocked |
| Polycarbonate | Light and tough | Can yellow with heat and age |
| Acrylic | Clear and low cost | Scratches more easily |
| Frosted panels | Soften glare | Pass less light |
Sources: Resource Innovation Institute, University of Missouri Extension.
Do lens covers change beam angle?
A flat clear cover barely changes how light spreads, and it mainly adds a small loss.
Shaped lenses are different. Some fixtures put a small lens over each diode to narrow or widen the beam. Those change coverage and are part of the fixture’s design.
If you want softer, wider light, see our post on fixture choice in choose the right LED lights for your cannabis grow. A diffuser does that job better than a plain cover.
When is a cover worth using?
Covers help most in humid rooms. Water on bare diodes can cause damage. Our post on grow tent condensation explains why humid tents drip and how to cut moisture.
They help in dusty rooms and in spaces where plants grow close to the light.
In a clean, dry room with a well spaced canopy, a bare fixture may give a little more light. Decide based on your conditions.
How do you care for lens covers?
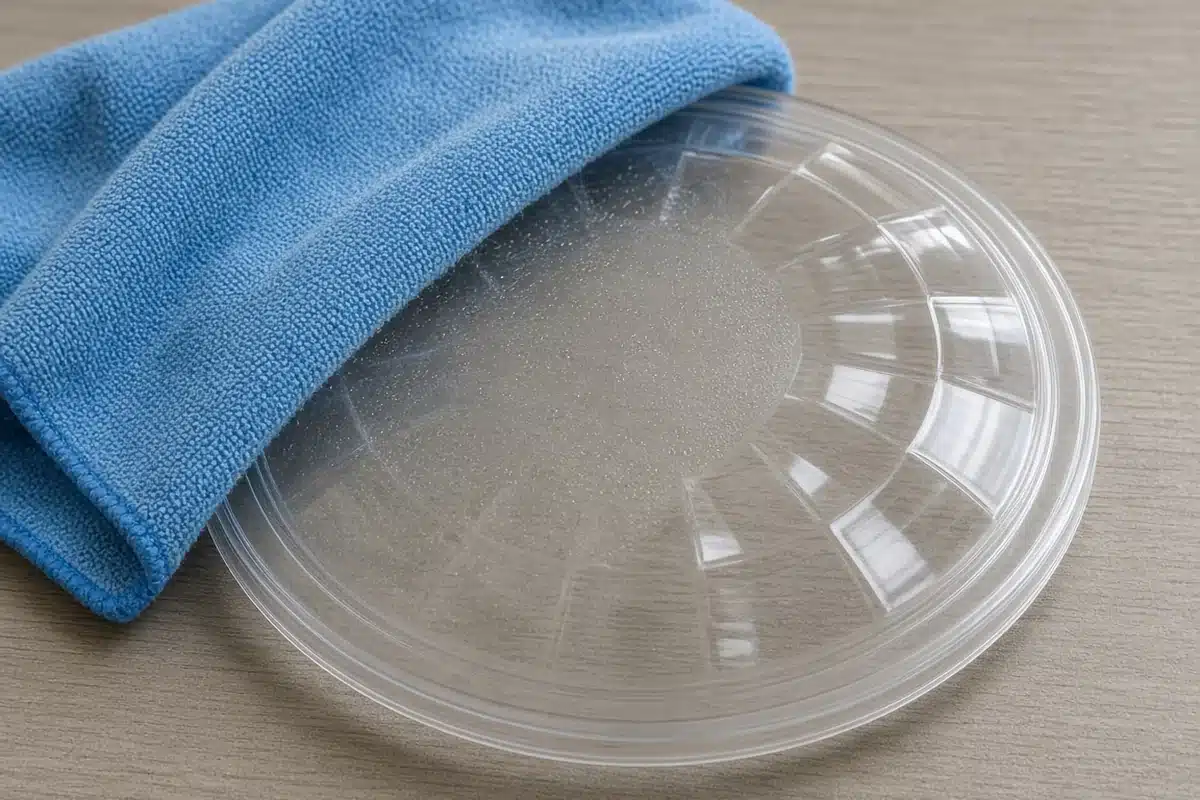
Set a regular cleaning schedule for covers. Unplug the light and let it cool. Wipe the cover with a soft, dry microfiber cloth. If film remains, use a lightly damp cloth with plain water, or a cleaner the maker allows.
Avoid rough paper towels and harsh solvents. They scratch or cloud plastic.
Inspect covers as you clean. Look for yellowing, cracks and fog inside the cover. Our post on when to replace grow lights covers other signs that a fixture is aging.
How do heat and airflow interact with covers?
A cover sits between the diodes and the room. If it blocks vents or heat sink fins, the fixture runs warmer and loses output.
Fit covers only as the maker describes. Leave fins and vents clear. Leave space around the fixture for air to move.
How do you choose a replacement cover?
Order covers from the fixture maker when you can. They fit the frame and hold vents in the right place.
If the maker no longer sells covers, measure the old one and note how it mounts. A local plastics shop can cut clear polycarbonate or acrylic to size. Pick a UV stable grade so it stays clear longer under grow lights.
Check the new cover with a quantum sensor. Compare readings to your notes from before. A good replacement should land close to the old cover when it was new.
How to: step by step
- Check whether your fixture has a cover option.
- Read the transmission figure.
- Fit covers per the maker’s guidance.
- Leave vents and heat sinks clear.
- Clean covers on a schedule.
- Replace yellowed or cracked covers.
Measure light at the canopy before and after fitting a cover. A quantum sensor shows the real loss.
Troubleshooting
Dimmer light. The cover is dirty. Clean it.
Yellowed cover. Age or heat has discolored it. Replace it.
Fogging inside. Moisture got in. Dry and reseal.
Fixture runs hot. Vents are blocked. Refit the cover to clear them.
Scratches on cover. A rough cloth was used. Use microfiber instead.
A clean cover protects the diodes with only a small cost in light. Kind Seed Co carries cannabis seeds for growers outfitting a new room.
Sources
- Lighting for controlled environment agriculture, best practices guide, Resource Innovation Institute, Lighting for controlled environment agriculture
- Controlled environment agriculture: understanding grow lights (G6987), University of Missouri Extension, Controlled environment agriculture
FAQ
Do lens covers reduce light output?
They absorb some light. A clean, clear cover costs little. Dirty or yellowed covers cost more.
Are glass covers better than plastic?
Glass resists scratches and yellowing but is heavier. Polycarbonate is tough and light but can yellow with age.
Do covers change beam angle?
Flat clear covers barely change it. Shaped lenses over each diode do.
Can covers make a light water resistant?
Not on their own. Water resistance depends on the whole fixture design and its rating.
How often should covers be cleaned?
Every few weeks, or whenever dust or film shows.