Setting Up a Potting Bench for Home Grow Work
The short answer
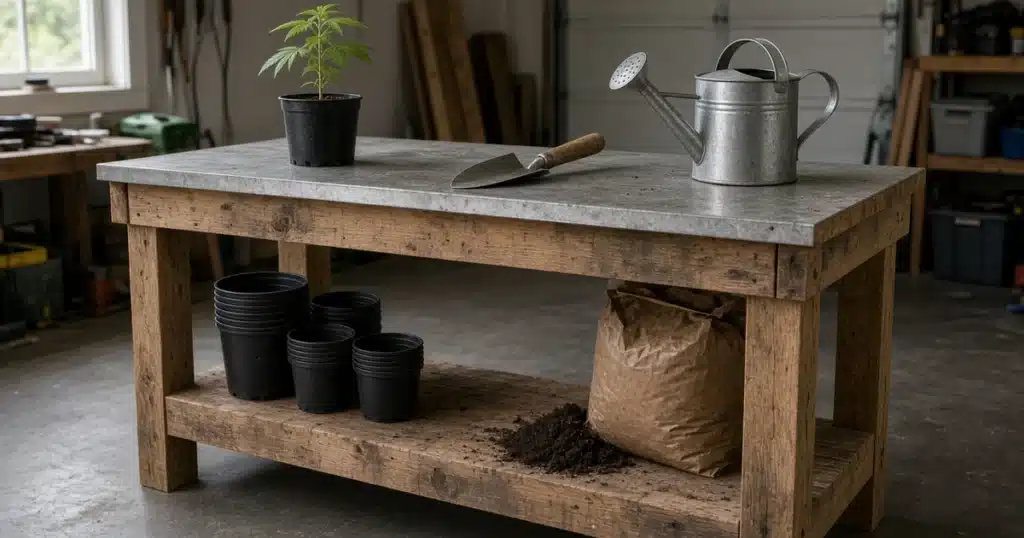
A potting bench is a work table set at about waist height where you mix soil, fill pots, transplant seedlings and clean tools. Set it near water with a surface that drains or wipes clean. Add shelves to keep supplies within reach.
A good bench saves your back and keeps soil off the kitchen floor. It can be small. A few square feet, a hose or water jug nearby and a spot out of harsh midday sun are enough to start.
A potting bench is not a greenhouse bench
Two kinds of benches are worth telling apart. A greenhouse bench holds growing plants for weeks. That one is made for airflow and drainage under many pots. Our guide to greenhouse benches for cannabis covers that kind.
A potting bench is a workstation. Short jobs happen here. Then the plants move to where they grow. That changes what matters. Height, a clean work surface, storage and water access matter more than pot capacity.
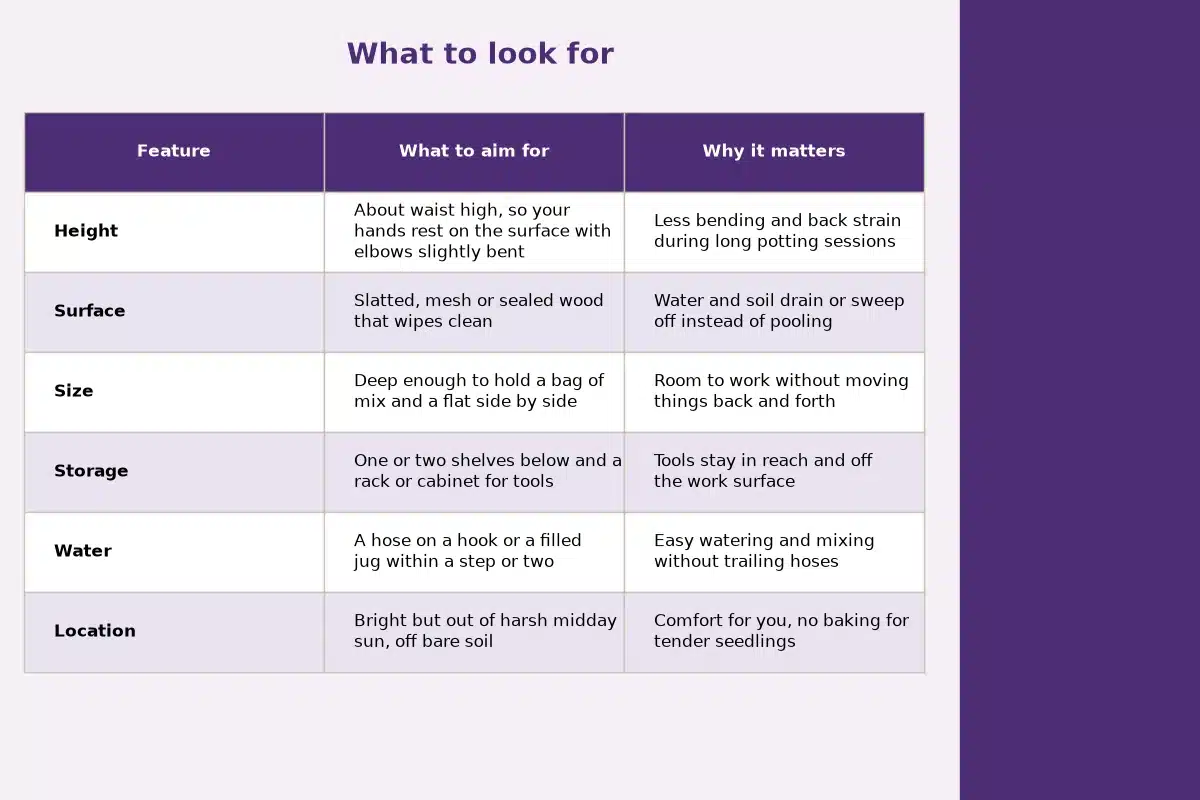
What to look for
The University of Arizona Cooperative Extension guide to setting up a propagation work area, listed under the table, lays out the basics. It says the space can be as small as a few square feet but needs room for a work table, a few shelves for supplies and easy access to water. It also suggests a waist high surface for good ergonomic work.
| Feature | What to aim for | Why it matters |
|---|---|---|
| Height | About waist high, so your hands rest on the surface with elbows slightly bent | Less bending and back strain during long potting sessions |
| Surface | Slatted, mesh or sealed wood that wipes clean | Water and soil drain or sweep off instead of pooling |
| Size | Deep enough to hold a bag of mix and a flat side by side | Room to work without moving things back and forth |
| Storage | One or two shelves below and a rack or cabinet for tools | Tools stay in reach and off the work surface |
| Water | A hose on a hook or a filled jug within a step or two | Easy watering and mixing without trailing hoses |
| Location | Bright but out of harsh midday sun, off bare soil | Comfort for you, no baking for tender seedlings |
Source: Setting Up a Plant Propagation Work Area at Home, University of Arizona Cooperative Extension, work area size, height, water access and storage guidance.
Picking the height
Height is the most important choice. Too low a bench makes you hunch. One that is too high strains your shoulders.
Stand with your arms at your sides and bend your elbows. The best work surface sits a little below your elbows. That works out to about waist height for most adults. If more than one person uses the bench, set it for the taller person and keep a sturdy step for the shorter one.
Picking the surface
A potting bench gets wet and dirty every time you use it. Pick a top that handles that.
Slats or mesh. Water and loose soil fall through. The Arizona guide notes that a porous surface lets excess water drain away and suggests keeping pots up off the ground.
Sealed wood or plastic. Easy to wipe down. A raised lip on three sides stops soil from falling off the back.
Metal tray insert. Some growers set a large metal or plastic tray into part of the bench. A pile of mix fits in it, and cleanup is quick.
Water at the bench
You will water every pot you fill. Having water close saves many trips.
The Arizona guide recommends a hose long enough to reach the whole area and a hook or rack to coil it. It warns that a hose lying loose across a work area is a trip hazard. If you work indoors, a filled watering can or a jug with a pour spout on a low shelf does the same job.
What to keep on the bench
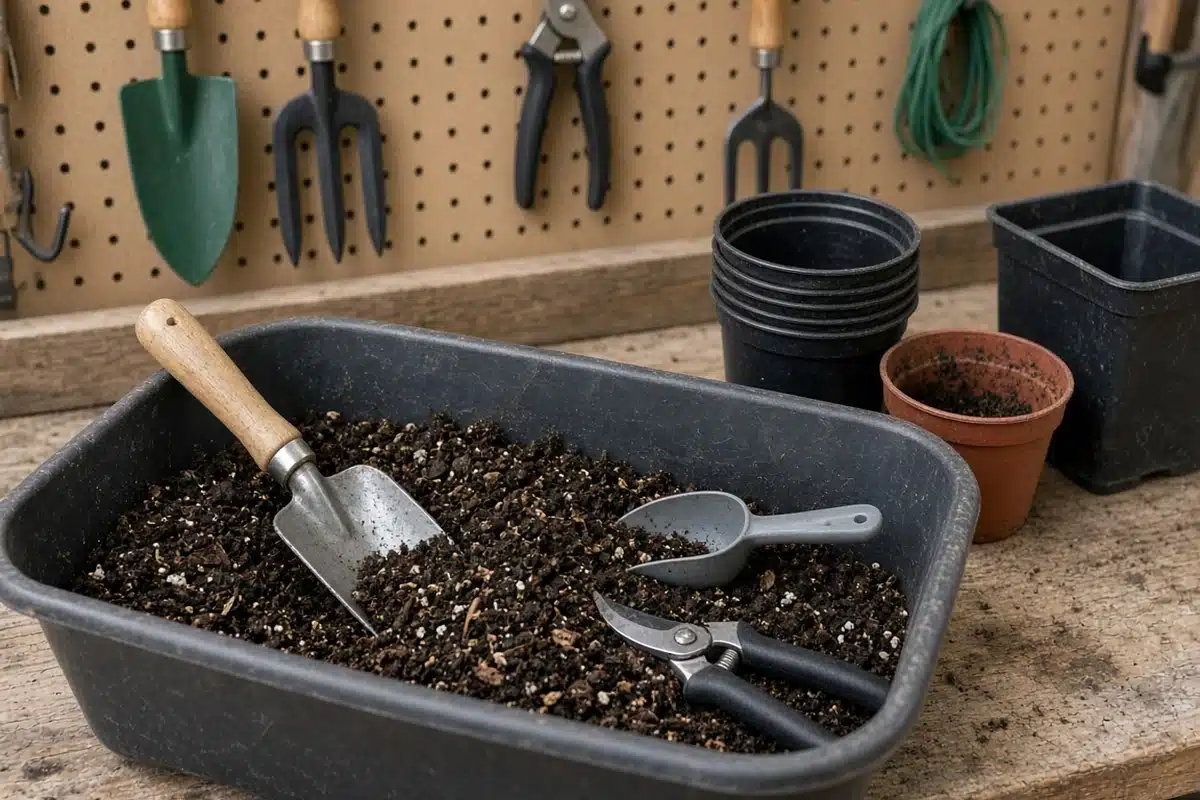
Begin small. Add tools as the need comes up. Most home growers use the same short list: a trowel or scoop, a pair of clean scissors, plant labels and a marker, a spray bottle and gloves. Our cannabis growing supplies list covers the wider kit.
An indoor bench needs a plan for power too. The UMN guide notes that indoor seed starting setups need nearby outlets for lights and heat mats. Keep cords up off the floor and away from water.
Storage and layout
Give every tool a place. The Arizona guide suggests a storage cabinet so each tool is ready at hand and easy to find next time.
A simple layout works for most home growers:
- Left side. Bags of mix, perlite and amendments on a low shelf or in bins.
- Center. Open work space for filling and transplanting.
- Right side. Empty pots, labels and a tray for finished plants.
- Hooks above or to the side. Trowel, scissors, pruners and gloves.
- Below. A bucket for waste and a bin for used pots that need cleaning.
Flip the sides if you are left handed.
Indoor or outdoor bench
You can hose down an outdoor bench in a yard or on a patio. Shade it from harsh midday sun. The Arizona guide suggests shade cloth that blocks about 40 to 60 percent of sunlight over the work area.
An indoor bench in a garage, basement or utility room keeps you working in any weather. Put a mat or tarp under it. Keep a dustpan nearby. Good light over the bench helps you spot pests and root problems.
Keeping the bench clean
Leftover soil on a bench can pass fungus spores and pests to the next plants. Brush the surface off after each session. Every few weeks, wash it with soapy water and let it dry in the sun.
Clean used pots before you reuse them. The University of Minnesota Extension guide to Starting seeds indoors advises soaking used containers in a bleach or disinfectant solution for 30 minutes, then rinsing them well. Let them dry fully before stacking.
The same habits that keep a tent clean apply here. Our guide to cleaning a grow tent covers products and timing.
How to set up a potting bench in eight steps
- Pick a spot near water with good light and shelter from harsh midday sun.
- Measure your working height and choose or build a bench to match.
- Choose a top that drains or wipes clean, and add a lip on the back and sides.
- Add one or two shelves under the work surface for bags and bins.
- Mount hooks or a small cabinet for hand tools.
- Plan outlets for any lights or heat mats and keep cords off the floor.
- Coil the hose on a hook or keep a full watering can within reach.
- Set out a waste bucket and a tray for finished pots.
Troubleshooting
Your back aches after potting. The bench is too low. Raise it on blocks or build a taller top.
Soil keeps spilling onto the floor. Add a raised lip on three sides and work over a tray.
Water pools on the surface. The top does not drain. Drill holes, switch to slats or tilt it slightly toward the front.
Tools go missing. Give each one a hook or slot and put it back at the end of each session.
Seedlings wilt on the bench. They are sitting in hot sun. Move potted plants to shade right away and add a shade cloth over the bench.
A small upgrade with a big payoff
A potting bench turns messy jobs into a quick routine. It keeps soil in one place, saves your back and gives every tool a home. At Kind Seed Co, we think a simple waist high bench with water nearby is one of the most useful additions to any home grow.
Sources
- University of Arizona Cooperative Extension, Setting Up a Plant Propagation Work Area at Home
- University of Minnesota Extension, Starting seeds indoors
FAQ
What height should a potting bench be?
About waist height, with the work surface a little below your bent elbows.
What is the difference between a potting bench and a greenhouse bench?
A potting bench is a workstation for short jobs. A greenhouse bench holds growing plants for weeks.
What surface is best for a potting bench?
Slats, mesh or sealed wood that drains or wipes clean. Add a lip so soil stays on the bench.
Where should I put a potting bench?
Near water, with good light and shelter from harsh midday sun.
How do I keep a potting bench clean?
Brush it off after each use and wash it with soapy water every few weeks.