
A Weekly Grow Room Checklist for Home Growers

The short answer
A weekly grow room checklist covers five areas: plants, pests, water, climate and equipment. Once a week, look over every plant closely, scout for pests with a hand lens, check pots and drainage, review temperature and humidity, and clean or inspect your gear.
Write down what you see each week. Small changes become clear patterns when you keep a short record. Daily glances catch emergencies, but the weekly walk through is where you spot problems before they spread.

Why a weekly routine works
Daily care is quick. You water, take a quick look at the plants and move on. Small problems slip by. A set weekly routine forces a slower, closer look.
The UMass Amherst guide on scouting listed under the table below describes regular, systematic monitoring as the base of pest management. It lists a 10x hand lens, yellow sticky cards and a record keeping system as core tools. The same habits carry over to a home grow room.
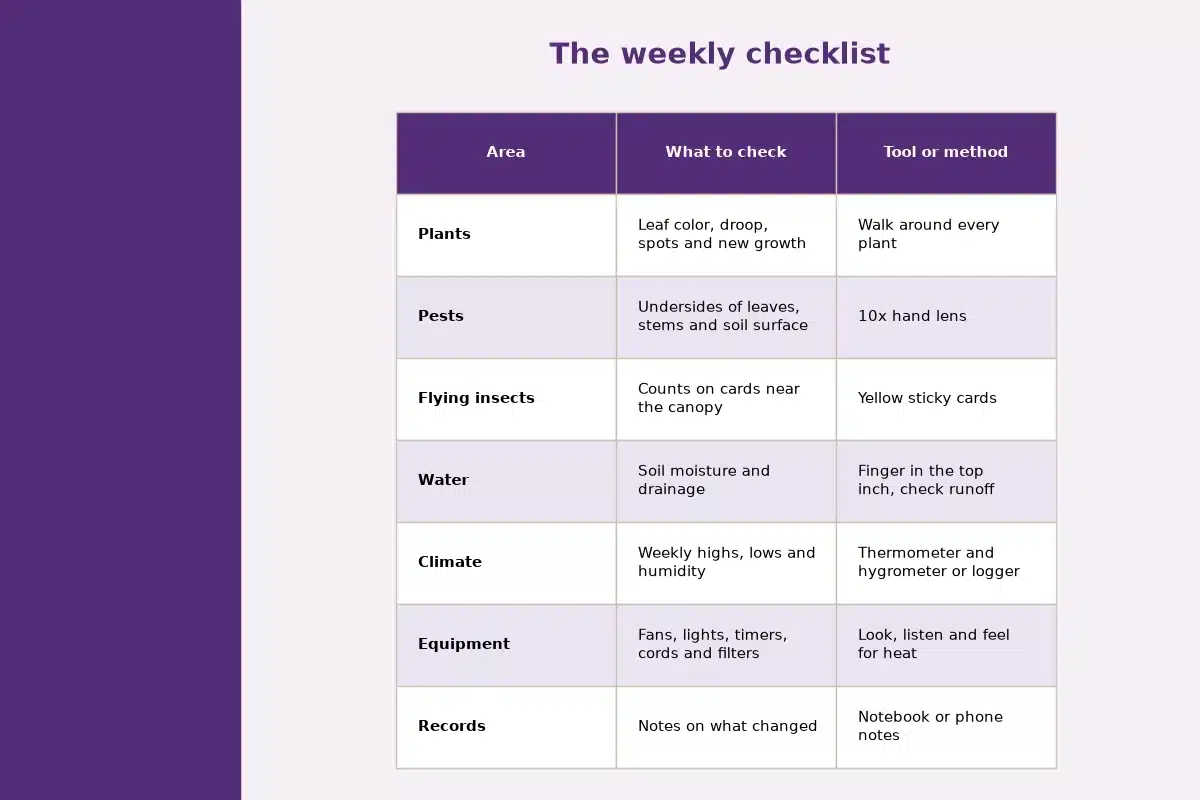
The weekly checklist
| Area | What to check | Tool or method |
|---|---|---|
| Plants | Leaf color, droop, spots and new growth | Walk around every plant |
| Pests | Undersides of leaves, stems and soil surface | 10x hand lens |
| Flying insects | Counts on cards near the canopy | Yellow sticky cards |
| Water | Soil moisture and drainage | Finger in the top inch, check runoff |
| Climate | Weekly highs, lows and humidity | Thermometer and hygrometer or logger |
| Equipment | Fans, lights, timers, cords and filters | Look, listen and feel for heat |
| Records | Notes on what changed | Notebook or phone notes |
Source: IPM Scouting and Decision Making, UMass Amherst Center for Agriculture, Food, and the Environment, scouting tools and record keeping.
Plants
Walk around each plant and look at it from every side. Compare it with last week.
- Look for yellowing, spotting or curling leaves.
- Check whether new growth looks healthy and even.
- Look for stems bending under weight.
- Check that no leaves touch the light or the tent walls.
Pests
Turn over a few leaves from the top, middle and bottom of each plant. Look closely with a hand lens. Many pests hide on the underside of leaves.
- Look for webbing, specks, eggs and moving insects.
- Check the soil surface for small flies.
- Check yellow sticky cards and note how many insects you see.
- Replace cards when they fill up.
If plants wilt with moist soil and no clear cause above ground, look at the roots. Our guide to root aphids on cannabis explains what to look for below the surface.
Sticky cards work best with a little routine. The UMass guide suggests clipping each card to a stake with a clothespin so you can raise it as plants grow. Set cards about 4 inches above the canopy for general monitoring. Lay cards flat on pot rims or just above the soil to catch fungus gnats. Number each card and change it weekly in the same spot. That way your counts show a real trend from one week to the next.
Water
The University of Illinois Extension guide on watering container gardens says your finger is a better guide than any meter. It advises watering when the top inch or so of soil is dry, and using enough water that some drips out of the drainage holes.
- Feel the soil in each pot.
- Check that water drains freely from every pot.
- Empty standing water from trays.
- Note if any plant drinks much faster or slower than the rest.
Climate
Look at your thermometer and hygrometer readings for the week, not just today. If you use a data logger, review the weekly graph.
- Note the highest and lowest temperature.
- Note the humidity after lights off, when it often climbs.
- Check walls and corners for moisture.
Our guide to grow tent condensation explains why water forms on cool surfaces and how to stop it.
Equipment
- Listen to fans for new noises.
- Check that lights turn on and off at the right times.
- Feel plugs and power strips for heat.
- Look at cords for damage.
- Check filters and intake screens for dust.
Cleaning
Pick up fallen leaves and plant debris. Wipe spills. Clean tools you used during the week. A full deep clean happens between grows, but a weekly tidy keeps pests and mold from getting a foothold. Our guide to cleaning a grow tent covers the deeper clean.
Records
The UMass guide stresses record keeping as part of scouting. A short weekly entry is enough.
- The date and the plant age.
- What you saw in each area.
- Any changes you made.
- Pest card counts.
Over a few weeks, these notes show trends you would miss day to day.
Tag one or two problem plants with a color so they serve as indicator plants. The UMass guide uses indicator plants to follow a pest through its life cycle. They show whether your control steps are working. Check those plants first each week. At the end of each grow, read back through your notes. Look for the weeks when pests showed up and what you changed.
Daily, weekly and monthly tasks
Not every task belongs in the weekly check. Each routine stays short when you split tasks by how often they come up.
- Daily: glance at plants, confirm lights and fans are running, and water as needed.
- Weekly: run the full checklist above.
- Monthly: deep clean trays and filters, inspect every cord end to end, and review a month of records.
- Between grows: empty the room, clean every surface and replace worn parts.
Adjust the list by growth stage
Seedlings and young plants
Young plants change fast and dry out quickly in small pots. Watch moisture, light distance and stretching stems closely. Pests can wipe out a small plant in days, so scout closely.
Vegetative growth
Plants put on size quickly. Look for crowding and leaves touching walls. Pots dry out faster as roots fill them. Raise lights and adjust training as needed.
Flowering
Dense growth traps humidity. Look inside the canopy for damp spots and watch humidity after lights off. Make sure branches can carry the weight. Add support where needed. Look closely at buds for any gray or brown patches, and remove any you find right away.
Share the load
Give the same checklist to anyone who helps with the grow. A shared template means both of you look at the same things and write notes the same way. Covering for each other during travel gets easier too.
How to run the weekly check
- Pick the same day and time each week.
- Gather a hand lens, notebook and fresh sticky cards.
- Walk around every plant and note what you see.
- Scout leaves, stems and soil for pests.
- Check soil moisture and drainage in each pot.
- Review the week’s climate readings.
- Inspect fans, lights, timers and cords.
- Pick up debris and wipe spills.
- Write a short entry in your records.
Keep it short
A weekly check for a small tent should take about twenty to thirty minutes. If it takes much longer, simplify the list. A short routine you follow every week beats a long one you skip.
Troubleshooting
- You keep forgetting the check. Set a recurring phone reminder.
- Notes are messy. Use the same short template each week.
- Pest counts keep rising. Scout more often and look for a source.
- One plant always looks worse. Check its pot, drainage and spot in the room.
- Readings vary a lot. Check sensor placement and look at the full week.
- The check takes too long. Cut items that never change and keep the core five areas.
Final thoughts
A weekly grow room checklist keeps small problems small. Look at every plant, scout for pests with a hand lens, check water and climate, inspect equipment and write it all down. The same twenty minutes each week pays off across the whole grow. Kind Seed Co has more grow room guides for home growers.
Sources
- UMass Amherst Center for Agriculture, Food, and the Environment, IPM Scouting and Decision Making
- University of Illinois Extension, Watering | Container Gardens
FAQ
What should a weekly grow room checklist include?
Plants, pests, water, climate, equipment and a short written record.
What tools do I need for a weekly check?
A 10x hand lens, yellow sticky cards, a thermometer and hygrometer, and a notebook.
How do I know when to water container plants?
Feel the soil and water when the top inch or so is dry, until some drains out.
Where do pests usually hide?
On the undersides of leaves, along stems and on the soil surface.
How long should a weekly grow room check take?
About twenty to thirty minutes for a small tent.


