Peat Pellets for Cannabis Seeds: How to Use Them

What are peat pellets?
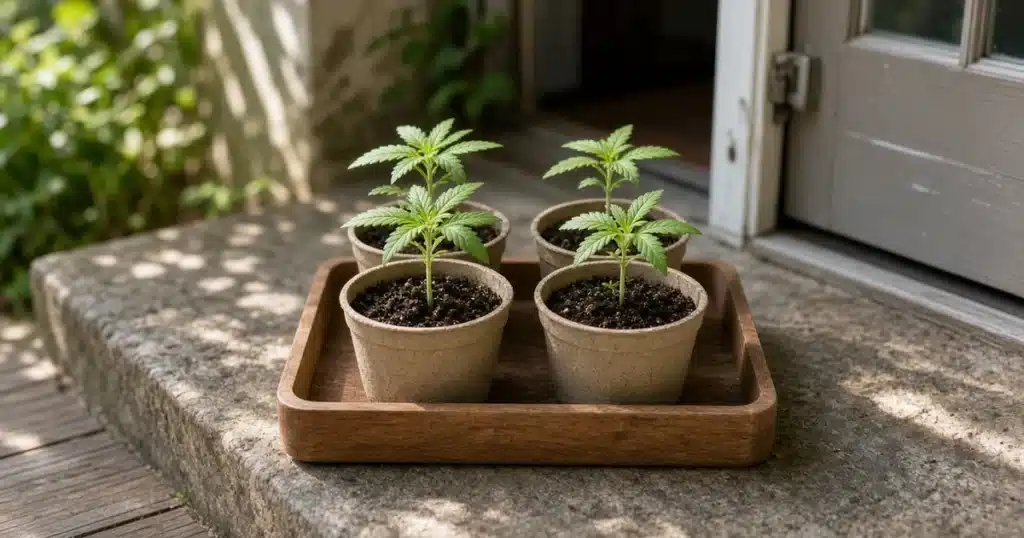
To use peat pellets for cannabis seeds, soak the pellet in warm water until it swells. Then drain it. Press a shallow hole in the top and plant the seed about a quarter inch deep.
A peat pellet is a small disk of pressed growing media held together by a fine net. Most are sphagnum peat. Some brands use coir instead. Dry pellets are flat and hard. They look like a thick coin.
The Purdue Extension guide Starting Seeds Indoors says dry pellets are about the size of a silver dollar, but somewhat thicker. When placed in water, they swell into a small cylinder full of peat moss. The guide adds that the pellets should sit in trays so they are easy to water and stay upright.
Starting pH and starter feed
Peat is acidic on its own. Plenty of pellet brands add lime to raise the pH, plus a small dose of starter fertilizer. The amount varies by brand, so read the package. A seedling only needs a light feed in its first week or two. For the first days, the seed lives on its own food.
Why use pellets for cannabis seeds?
Pellets solve two common problems for new growers. They limit transplant shock, and they make moisture easier to manage.
Low transplant shock
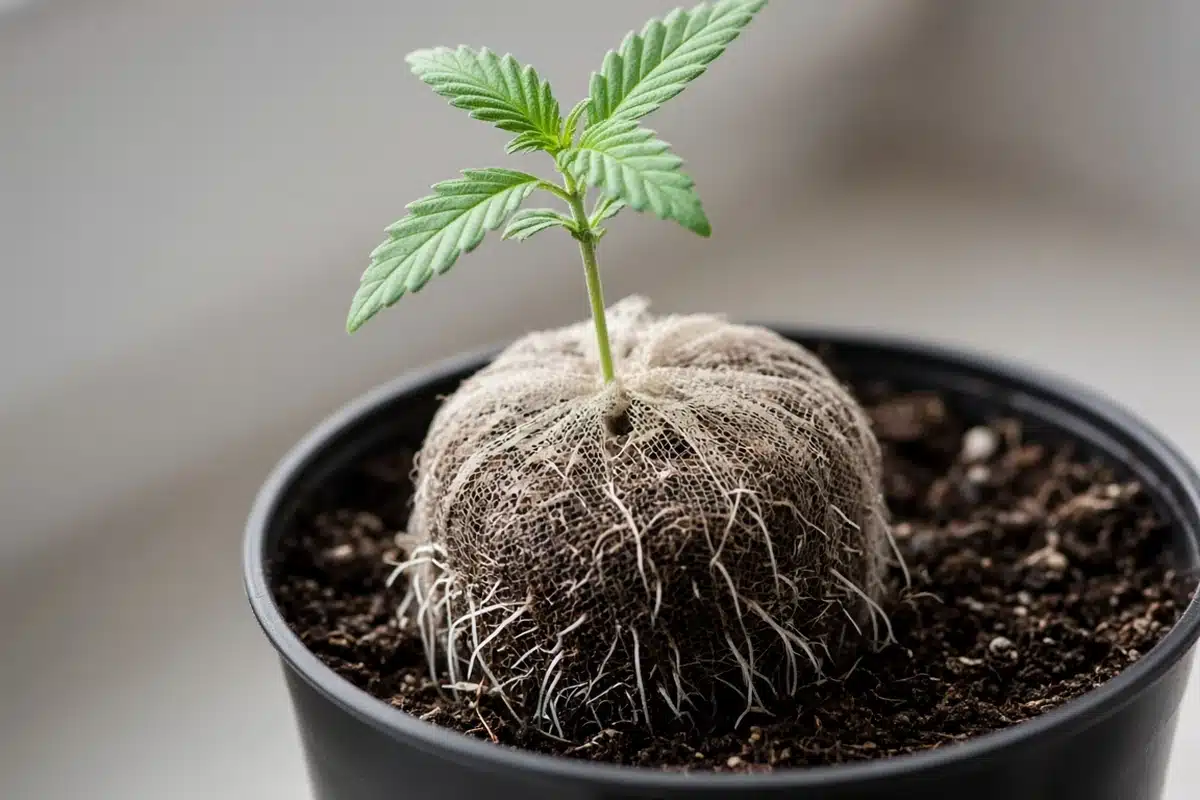
When you move a seedling from a tray, you often tear fine roots. A pellet goes into the next pot whole. Roots stay in place inside the net. The seed guide notes that seedlings in peat pots or peat pellets can be planted intact. The Mississippi State University Extension guide Transplanting lists peat pellets as a germination container and says they remove the need for a separate mix and pot. You only need a tray to hold them.
Cannabis seedlings do not like rough handling. From sprout to first pot, a pellet holds the root ball together. That is the main reason growers like them. You can read more about the next step in our guide to potting up cannabis seedlings.
Even moisture
Peat holds a lot of water and still lets air reach the roots. A swollen pellet is a small, even block of media. A loose mix in a cup can form dry pockets. A pellet does not. If you want to know more about the material itself, see our page on peat moss for cannabis.
How to use peat pellets step by step
Follow these steps for each batch of seeds.
- Arrange the dry pellets in a shallow tray with the small hole facing up.
- Soak them in warm water. The transplanting guide advises sprinkling them several times with warm water until they are fully expanded, with a little time between each round.
- Drain off any water left in the tray once the pellets stop growing.
- If the net looks tight, open the top with a clean finger or pencil.
- Plant one seed about a quarter inch deep, with the root tip down if the seed has already cracked.
- Cover the seed lightly with peat from the top of the pellet.
- Set the tray under a gentle light. Keep the air humid until the sprout shows.
The transplanting guide also suggests packing sand or vermiculite around the expanded pellets. This holds them upright and slows drying between waterings. It is a simple fix if your pellets keep tipping over.
Keep the tray warm. The same guide gives 80°F (27°C) as the best germination temperature for many garden seeds. Germination slows as it drops below that. A seedling heat mat for cannabis can help in a cool room. Once the seedling breaks the surface, lift any cover and give it more light so it does not stretch.
How wet should a peat pellet be?
The pellet should feel like a sponge that has been wrung out. It should be damp all the way through but never drip.
Squeeze check
Pick up a pellet and give it a light squeeze. A few drops is fine. If water streams out, it is too wet. If it feels light and the sides pull away from the net, it is too dry.
Lift the tray as well. A wet tray feels heavy. A dry tray feels light.
The seed guide suggests watering from below. Set the tray in a pan of warm water so the pellets draw up moisture from the base. The guide notes that bottom watering keeps the surface dry and helps avoid damping off. Pour off any water the pellets do not take up within about half an hour.
Overwatering signs
Overwatering is the most common pellet problem. Watch for these signs.
- Water pooling in the tray for hours
- Green algae or white fuzz on the pellet top
- A sour smell
- A seedling that looks weak or falls over at the base
If you see any of these, let the tray dry for a day and water less often.
When to transplant out of a pellet
Once roots grow through the net, move the seedling. You will see white root tips poking out of the sides or the base. This often happens after the first set of true leaves forms. The seed guide gives the same rule for seedlings in general. Transplant once they have at least one set of true leaves and are large enough to handle. Waiting too long gives crowded, spindly plants.
Remove or slit the net
Some nets break down in soil. Many do not break down fast enough. Growth can slow when a tight net circles the roots.
Slit the net with clean scissors before you plant, or peel it off if it comes away easily. Do not pull roots that have grown through it. The seed guide also warns about pot edges. Any edge left above the soil line can wick water away and dry the roots. Bury the whole pellet just below the surface of the new mix.
Water the new pot lightly and keep it out of bright light for a day or two.
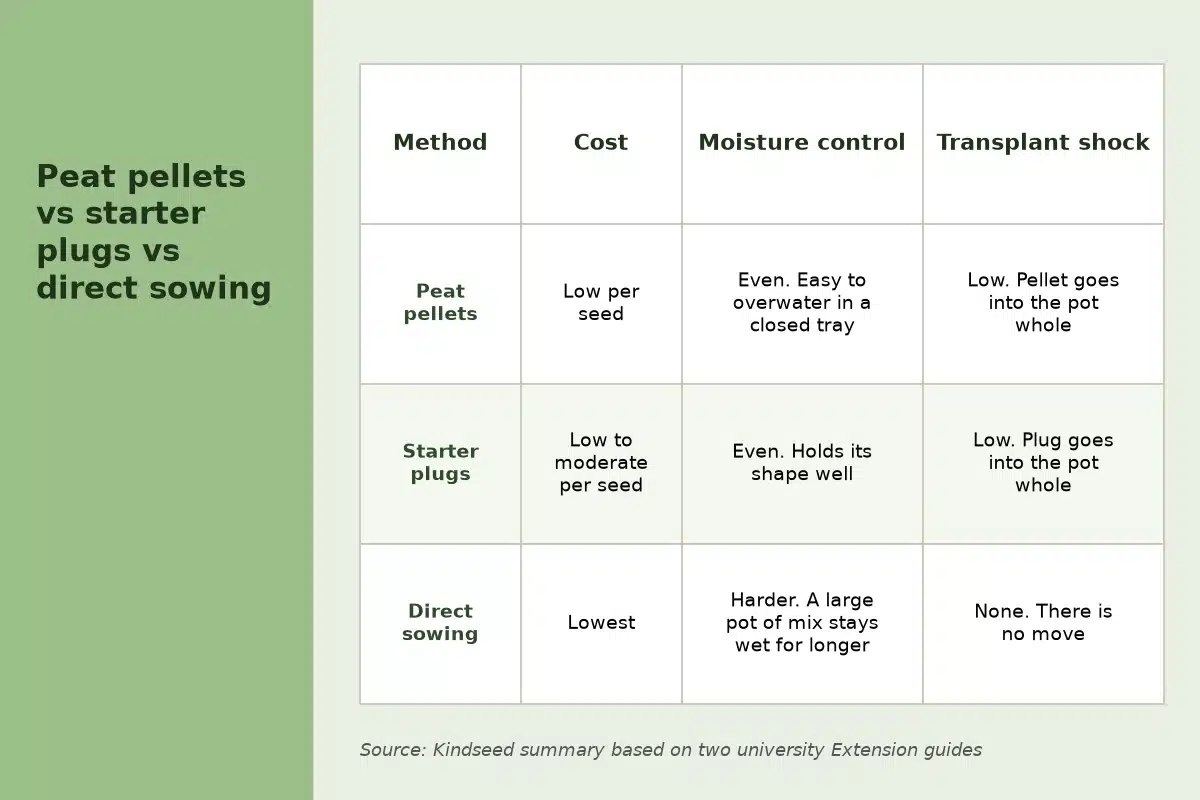
Pellets vs starter plugs vs direct sowing
Each method has a place. Small batches suit pellets, and so do growers who want simple moisture control. Plugs suit larger trays. Direct sowing skips a transplant but needs more care with watering in a big pot.
| Method | Cost | Moisture control | Transplant shock |
|---|---|---|---|
| Peat pellets | Low per seed | Even. Easy to overwater in a closed tray | Low. Pellet goes into the pot whole |
| Starter plugs | Low to moderate per seed | Even. Holds its shape well | Low. Plug goes into the pot whole |
| Direct sowing | Lowest | Harder. A large pot of mix stays wet for longer | None. There is no move |
Source: Kind Seed Co summary based on the two Extension guides linked above.
Troubleshooting peat pellet problems
Water, warmth or light causes most issues. Start there.
No sprout
Give it time. Most fresh seeds sprout within a week. If nothing shows after 10 days, the seed may be dead, buried too deep or kept too cold. Check that the pellet stayed damp and warm the whole time.
Mold on the surface
A thin white fuzz on top of a pellet is common in a closed, humid tray. Open the cover for longer each day and add a small fan for air flow. Let the surface dry slightly between waterings. Remove any pellet with heavy mold.
Damping off
The seed guide describes damping off as seedlings that fall over at the ground line because of a fungus disease. The guide says high temperature, poor light or excess moisture help it spread. Clean trays before each use, water from below and give seedlings bright light once they sprout. Our guide to damping off in cannabis seedlings covers the full picture.
Pellet dries out fast
Small pellets lose water quickly under warm lights. Keep a humidity dome on until the sprout appears. Pack vermiculite between pellets, as the transplanting guide suggests, to slow drying. Check them twice a day in a warm room.
Sources
- Purdue Extension, Rosie Lerner, “Starting Seeds Indoors”, HO 14 W: https://www.extension.purdue.edu/extmedia/ho/ho-14-w.pdf
- Mississippi State University Extension, “Transplanting”: https://extension.msstate.edu/lawn-and-garden/vegetable-gardens/transplanting
FAQ
How do I use a peat pellet for a cannabis seed?
Soak it in warm water until it swells. Then drain it. Press a shallow hole in the top and plant the seed about a quarter inch deep.
How wet should a peat pellet be?
Like a wrung out sponge. A light squeeze should give a few drops at most.
When should I transplant out of a peat pellet?
When roots poke through the net, often around the first set of true leaves.
Should I remove the net?
Slit or peel it if it comes away easily, but do not tear roots that have grown through it.
Why is there mold on my pellets?
Too much water and still, humid air. Vent the dome, add air flow and water less often.