
Soil Solarization for Cannabis Beds: How to Do It
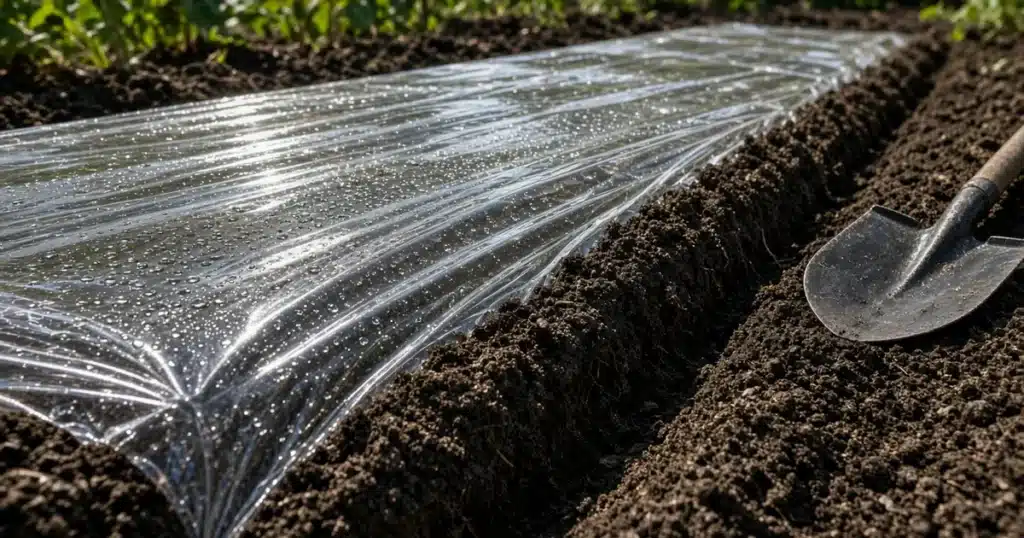
Soil solarization is a way to clean up a garden bed with sunlight. You wet the soil, cover it tightly with clear plastic, and leave it during the hottest weeks of the year. Heat builds under the plastic and kills many weed seeds, soilborne fungi, bacteria and some nematodes before anything is planted. University of California Statewide IPM Program describes it as a nonchemical method that leaves no residue and suits home gardens as well as farms. For an outdoor grower, it fits best on a new bed or one with a history of weeds or root disease, done the summer before the bed is planted. It is bed prep, not a rescue for plants already in the ground.
What does solarization control?
UC IPM lists a long range of targets, but results vary by pest.
| Target | How well solarization works |
|---|---|
| Many soilborne fungi and bacteria, including damping-off | Good |
| Annual weeds and their seeds | Good |
| Nematodes | Partial, mostly in the top 12 inches |
| Perennial weeds with deep roots or rhizomes | Poor to inconsistent |
| Heat-tolerant fungi such as charcoal rot | Poor |
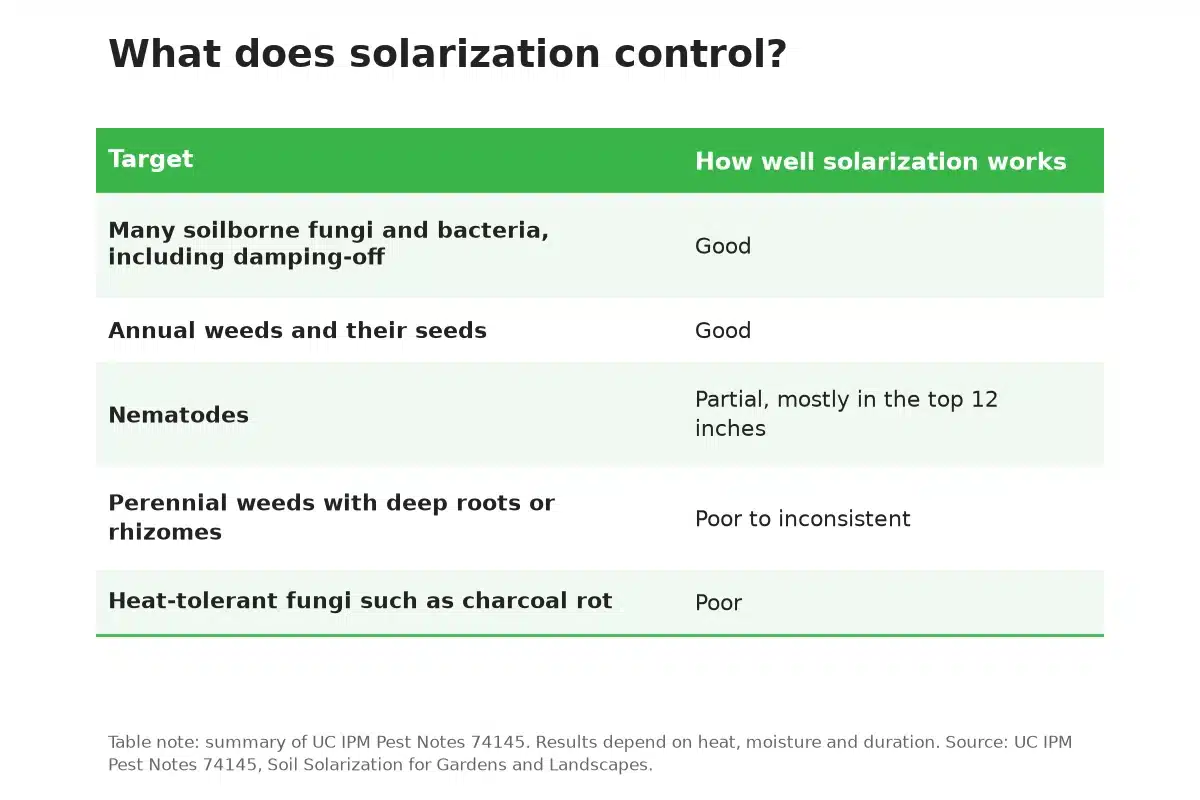
Table note: summary of UC IPM Pest Notes 74145. Results depend on heat, moisture and duration.
Source: UC IPM Pest Notes 74145, Soil Solarization for Gardens and Landscapes.
Nematodes are a special case. UC IPM explains that they can move deeper to escape the heat and then recolonize the treated layer. That makes solarization a useful reduction step rather than a full fix. If they are already in your soil, Kind Seed Co has a full rundown in nematodes and cannabis.
Perennial weeds are the other weak spot. Purple and yellow nutsedge and field bindweed often survive because their underground parts sit below the heated zone. Dig those out by hand before you solarize, or expect them back.
How hot does the soil get?
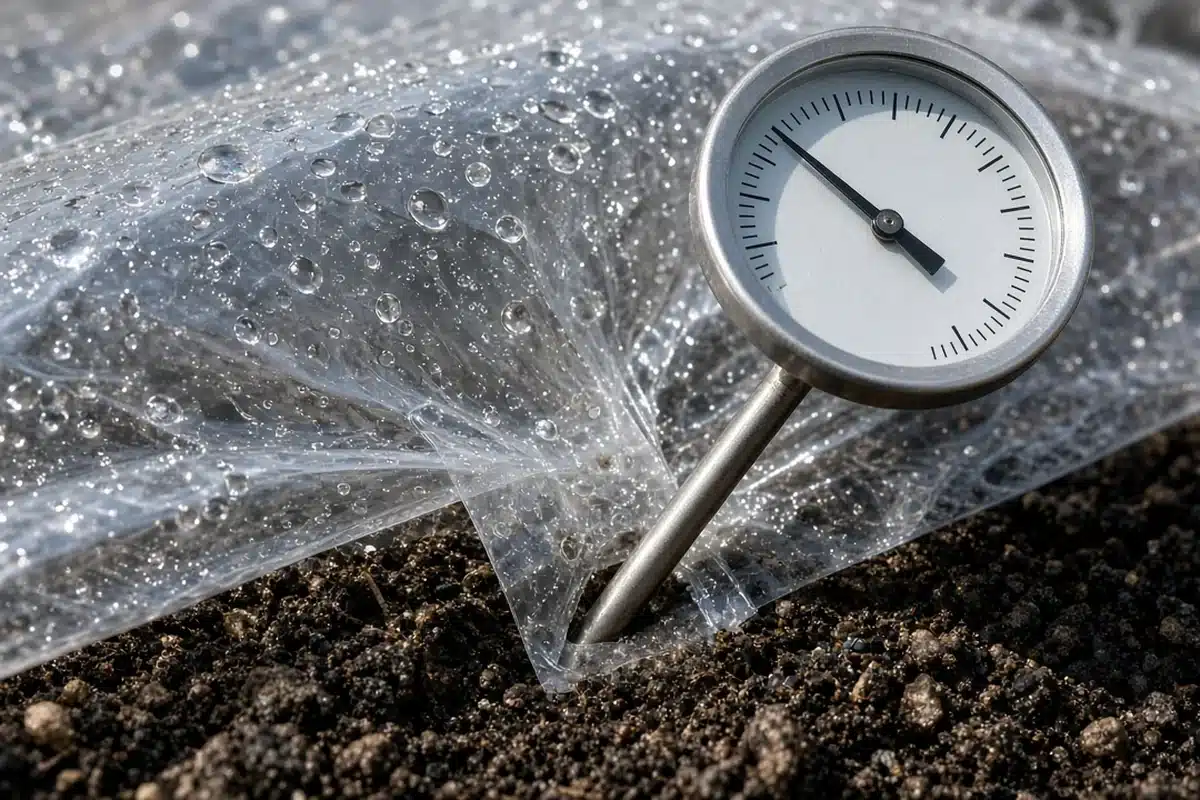
UC IPM reports that solarized soil usually peaks at 108 to 140°F at a depth of 2 inches and at 90 to 99°F at 18 inches. The goal is daily highs of 110 to 125°F or more in the top 6 inches. Control is strongest in that upper layer and fades with depth. Pest control is usually best for organisms in the top 6 inches of soil, which is also where young cannabis roots and most weed seeds live.
Moisture matters as much as sunlight. Wet soil carries heat deeper than dry soil, and UC IPM notes that pests weakened by heat are also more exposed to beneficial soil microbes during and after treatment.
Where does solarization work best?
Location changes the result as much as timing. UC IPM says the method works best in warm, sunny places and is less effective in shade. A few site details help:
- Flat ground or a slope facing south or southwest heats best. UC IPM notes that north-facing slopes solarize poorly and give weaker pest control.
- Raised beds laid out north to south heat more evenly than beds running east to west.
- Beds covered one at a time leave the paths between them untreated, so keep path soil off the beds afterward.
In cooler coastal areas, UC IPM reports it has still worked during hot, fog-free stretches. Where summer heat is unreliable, plan on the longer 8-week end of the range.
When should you solarize?
Solarize in the hottest, sunniest part of the year. UC IPM names June through August as the best window in inland California, with July the most reliable month. Long days, high air temperatures, clear skies and little wind give the best heating. Shade, cloud cover and wind all weaken it.
In practice, that means solarizing a bed in the summer before you plant it. In warm, sunny areas, a bed treated in July and August is ready for a fall cover crop or can sit covered until spring. In cooler or cloudier places, the method still works but needs more time. Plan the bed’s first season around it, and use when to plant cannabis seeds outdoors to time the crop that follows.
How do you solarize a bed, step by step?
- Clear weeds and debris. Dig out perennial weeds with their roots.
- Work the bed and rake it smooth. UC IPM stresses a very smooth surface with few clods, so the plastic lies snug and leaves few air pockets.
- Shape raised beds now, before covering, so you will not need to move soil afterward.
- Water deeply. UC IPM advises wetting the soil to at least 12 inches.
- Lay clear plastic right after watering, so the moisture stays in.
- Bury the edges. Dig a trench 4 to 6 inches deep around the bed, tuck the plastic in, pull it tight and pack soil over the edges.
- Patch any tears with durable tape as soon as you see them.
- Leave the plastic in place for 4 to 6 weeks, or up to 8 weeks in cool, windy or cloudy sites.
- If you have a soil thermometer, check that the top 6 inches reach 110°F or more on sunny afternoons.
Do not water again during treatment unless the soil dries badly. UC IPM notes that extra irrigation cools the soil and stretches the time needed.
Which plastic should you use?
Clear plastic beats black for heating. UC IPM explains that sunlight passes through clear film and the heat stays trapped in the soil, while black plastic absorbs and loses part of that heat. Choose truly transparent film over milky or cloudy sheets.
Thickness is a tradeoff:
- About 1 mil heats best but tears more easily in wind or under animals.
- 1.5 to 2 mil holds up better in windy spots.
- 4 mil or thicker works for small areas.
Common painter’s plastic from a hardware store usually lasts the 4 to 6 weeks. For small beds in cooler areas, UC IPM describes a double layer with an air gap, held apart by plastic bottles or PVC pipe, which raised soil temperature by an extra 2 to 10°F over a single layer.
What do you do after solarizing?
Remove the plastic gently and disturb the soil as little as possible. UC IPM warns that digging or deep tilling brings up live weed seeds from untreated edges and deeper layers. If you must cultivate, keep it shallow, under 2 inches. Avoid dragging soil from untreated paths or furrows onto the clean bed.
The bed can be planted right away. UC IPM also notes that solarization speeds the breakdown of organic matter and can release nitrogen, calcium, magnesium and potassium in forms plants can use. Many beneficial organisms, including mycorrhizal fungi, survive or recolonize quickly. UC IPM also mentions leaving the plastic on as a mulch and cutting holes to plant through it, but clear film lets weeds grow underneath once the heat drops, so most growers remove it.
A fall cover crop is one way to keep the cleaned bed covered until spring.
What about adding compost before solarizing?
UC IPM describes a newer approach called biosolarization. Crop residues or compost are worked into the soil before the plastic goes on, and the organic acids released as they break down can add to the heat’s effect on pests. UC IPM calls it experimental and gives a caution. Too much organic material can leave the soil temporarily soured, so planting may need to wait, or the bed may need a deep watering to wash those compounds below the root zone. For a first attempt, a moderate layer of finished compost is the safer choice.
Can you solarize potting soil?
Yes, in smaller amounts. UC IPM describes placing moist soil in bags, pots or buckets on wooden pallets under a double tent of clear plastic. That setup can raise soil temperatures by up to 50°F, and soil inside black plastic bags in warm parts of California can pass 160°F. As a guide, UC IPM says holding 158°F or higher for 30 minutes eliminates pests. Check the center of the soil mass with a thermometer, since the middle heats last.
What are the common mistakes?
- Solarizing dry soil. Dry soil heats poorly and pests survive.
- Using black or cloudy plastic in a hot, sunny location.
- Leaving slack plastic that billows in the wind and traps air pockets.
- Starting in spring or fall when the sun is too weak.
- Ending too early, especially in a cool or foggy summer.
- Tilling deeply afterward and bringing fresh weed seed to the surface.
- Expecting it to clear nutsedge or bindweed. Dig those out first.
Sources
- University of California Statewide IPM Program. Pest Notes: Soil Solarization for Gardens and Landscapes (Publication 74145). https://ipm.ucanr.edu/PMG/PESTNOTES/pn74145.html
FAQ
How long should I solarize soil?
Plan on 4 to 6 weeks during the hottest part of summer. UC IPM says that is usually enough to control most soil pests. In cool, windy or cloudy locations, or for hard-to-kill pests, leave the plastic on for up to 8 weeks. Very hot inland areas may need only about 4 weeks.
Does solarization kill beneficial soil life?
Not entirely. UC IPM reports that many beneficial organisms, including mycorrhizal fungi and microbes that attack plant diseases, survive solarization or recolonize the soil quickly. Earthworms are thought to burrow deeper to escape the heat. Solarized soil can even resist some diseases better than untreated soil afterward.
Can I use black plastic instead of clear?
Clear plastic works better in warm, sunny areas because it lets sunlight through and traps the heat in the soil. UC IPM notes that black plastic absorbs part of the heat instead. In cooler coastal places, black plastic left on for several summer weeks can still help, mainly by stopping weed growth beneath it.
Do I need to add anything to the soil after solarizing?
Usually not right away. UC IPM notes that solarization speeds up organic matter breakdown and can release nitrogen, calcium, magnesium and potassium that plants can use. Plant without deep digging so you do not bring up untreated soil, and base any later feeding on a soil test and how the plants grow.


