
Soil Texture Jar Test: Find Your Sand, Silt, Clay
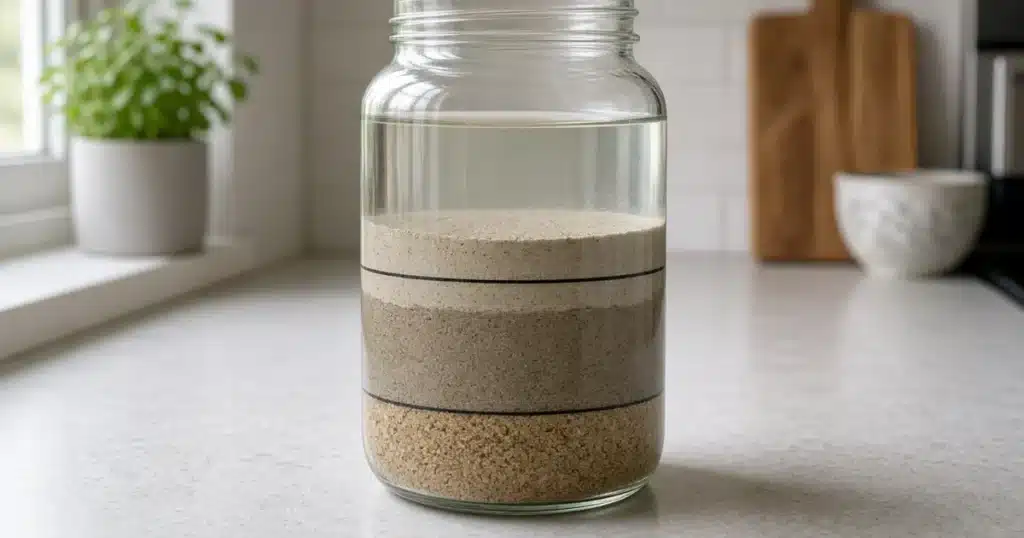
A soil texture jar test answers one of the most useful questions a home grower can ask. Is my ground mostly sand, silt or clay? Texture shapes how fast a bed drains, how much water it holds, how quickly it warms in spring and how easily it compacts. You cannot change texture much, but once you know it you can plan watering, bed design and soil care around it. All you need is a clear jar, water, a little detergent, a ruler and a few days of patience.
What soil texture means
Texture is simply the size of the mineral particles in soil. Colorado State University Extension explains that sand is the largest and feels gritty, silt is middle-sized and feels smooth or floury, and clay is the smallest and feels sticky. Its size table puts clay at less than 0.002 millimeters, silt at 0.002 to 0.05 millimeters and sand at 0.05 to 2 millimeters.
The texture class depends on the mix. Colorado State Extension gives the example of a soil with 30 percent clay, 50 percent sand and 20 percent silt, which is a sandy clay loam. A loam is a soil with a balance of all three. The USDA soil texture triangle turns any set of percentages into a class name.
Why texture matters for a cannabis bed
Colorado State Extension compares clayey and sandy soils across several traits, and each one affects how a bed behaves through the season.
- Clayey soils hold more water and nutrients but drain slowly, compact easily and warm slowly in spring.
- Sandy soils drain fast and warm quickly but hold little water or nutrients.
- Silt has water-holding capacity similar to clay but adds little else, according to Colorado State Extension.
- Loamy soils sit in between and are usually the easiest to manage.
One detail surprises many growers. Colorado State Extension notes that a soil with as little as 20 percent clay behaves like a sticky clayey soil, and that a soil needs 45 to over 60 percent medium to coarse sand to behave as sandy. A soil with 20 percent clay and 80 percent sand still acts like clay. The jar test helps you spot that.
What you need
- A tall, slender clear jar with a tight lid, such as a quart jar.
- Soil from the bed you plan to plant.
- Water.
- A teaspoon of powdered, non-foaming dishwasher detergent.
- A marker, a ruler and a calculator.
- Newspaper or a tray for drying the sample.
How to run the jar test, step by step
This method follows Colorado State Extension’s jar test.
- Collect soil from the root zone of the bed. Taking small scoops from several spots and mixing them gives a more typical sample.
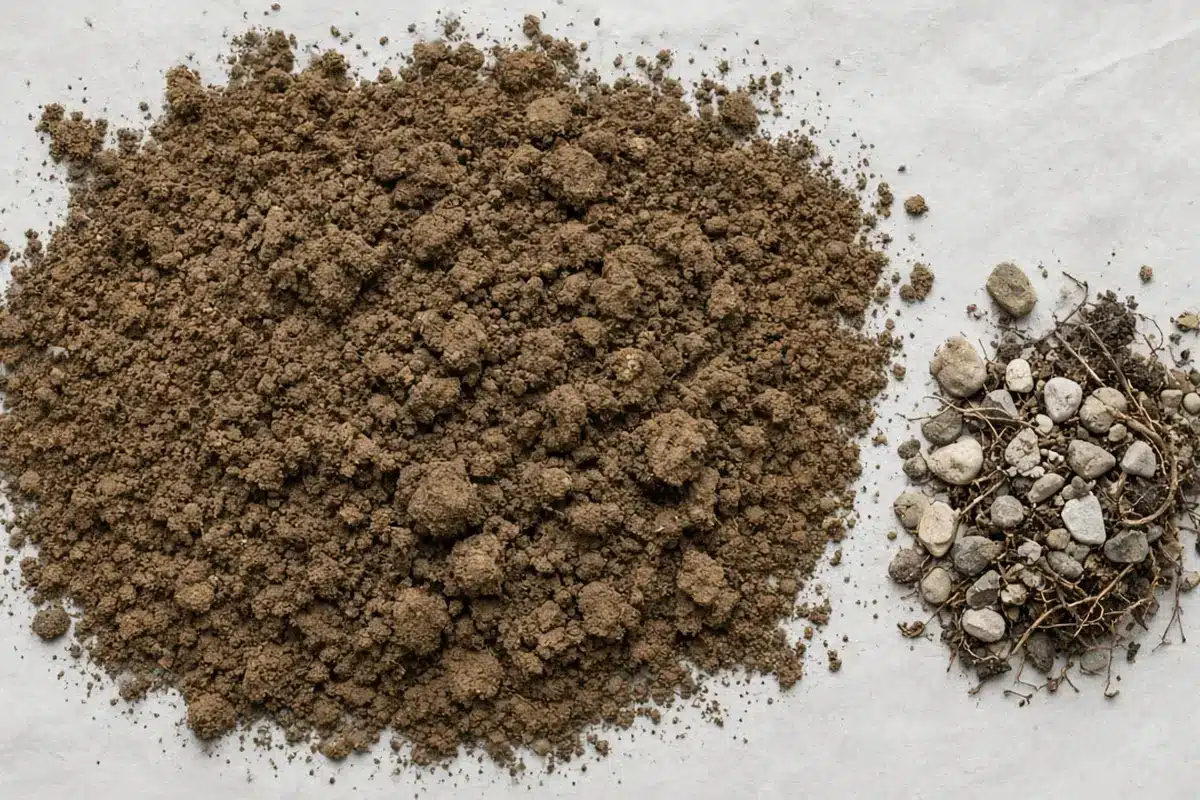
- Spread the soil on newspaper to dry. Remove rocks, roots and debris, and crush lumps and clods.
- Finely pulverize the dry soil.
- Fill the jar one quarter full of soil.
- Add water until the jar is three quarters full.
- Add a teaspoon of powdered, non-foaming dishwasher detergent.
- Screw the lid on tight and shake hard for 10 to 15 minutes. This breaks soil clumps into individual particles.
- Set the jar where it will not be disturbed.
- After 1 minute, mark the top of the sand layer on the glass.
- After 2 hours, mark the top of the silt layer.
- When the water clears, mark the top of the clay layer. Colorado State Extension says this usually takes 1 to 3 days, and some soils take weeks.
Reading the layers
Measure the thickness of each layer and the total depth of settled soil. Colorado State Extension’s method then works like this:
- Divide the sand thickness by the total thickness to get the percentage of sand.
- Divide the silt thickness by the total thickness to get the percentage of silt.
- Divide the clay thickness by the total thickness to get the percentage of clay.
- Look up the class using the USDA soil texture triangle or the USDA NRCS soil texture calculator.
For example, if the total deposit is 4 inches with 2 inches of sand, 1.2 inches of silt and 0.8 inches of clay, the soil is 50 percent sand, 30 percent silt and 20 percent clay. On the texture triangle, that is a loam. Remember Colorado State Extension’s note that 20 percent clay is already enough to give soil sticky, clay-like behavior.
Organic matter often floats on the water or settles as a fluffy layer on top. Leave it out of your measurements.
Cross-check with the feel test
Colorado State Extension also describes a quick hand test that is a useful cross-check for your jar results. Moisten a small amount of soil and knead it like putty.
- Feel. Sand feels gritty, silt feels smooth and clay feels sticky.
- Ball squeeze. Sandy soils break apart with slight pressure, medium soils hold together but change shape easily, and clayey soils resist breaking.
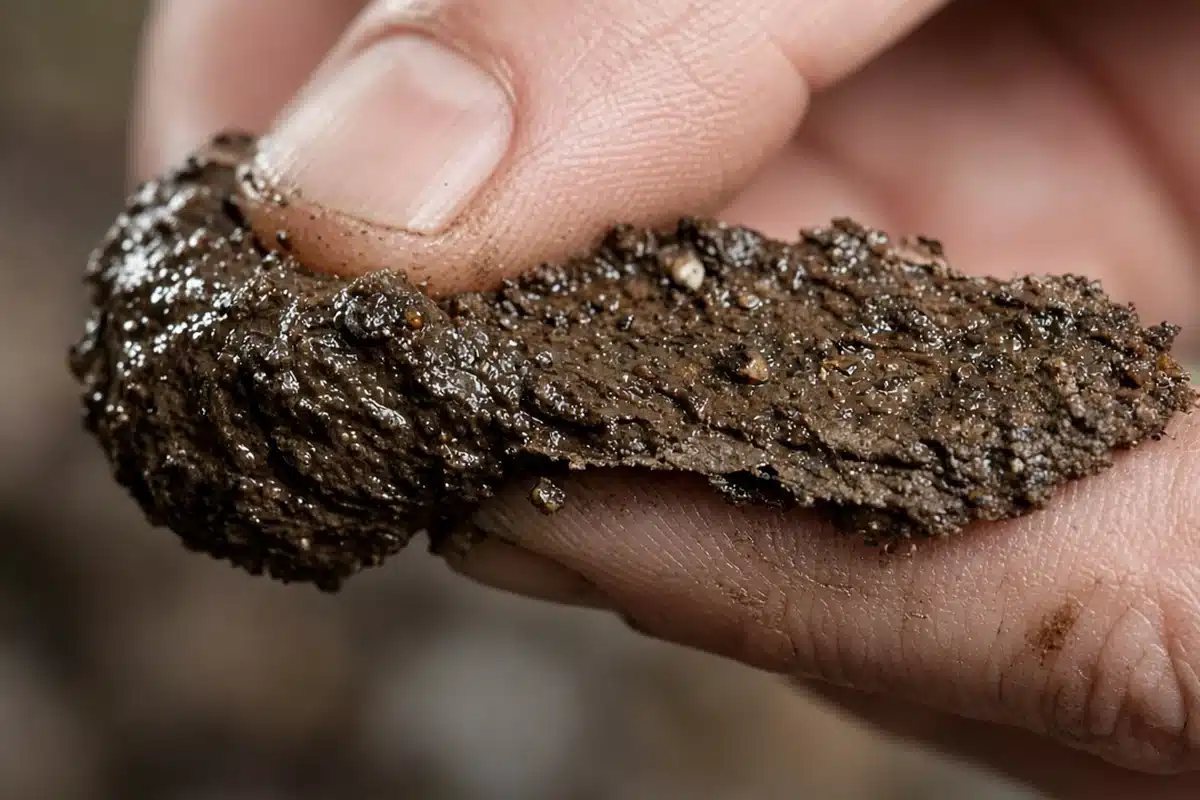
- Ribbon. Push the soil out between thumb and finger into a ribbon. Colorado State Extension notes that a ribbon under 1 inch suggests a loam texture, 1 to 2 inches a clay loam, and over 2 inches a clay. Grittiness narrows it down further.
Colorado State Extension’s feel key goes a step further and names the class. Add water a drop at a time as you knead, then work through these checks in order.
- If the moist soil will not stay in a ball when squeezed, it is a sand.
- If it forms a ball but will not make a ribbon, it is a loamy sand.
- If the ribbon breaks before 1 inch, rub a wet pinch between thumb and forefinger. Very gritty means sandy loam, equally gritty and smooth means loam, and very smooth means silt loam.
- If the ribbon reaches 1 to 2 inches, the same rub separates sandy clay loam, clay loam and silty clay loam.
- If the ribbon reaches 2 inches or more, the rub separates sandy clay, clay and silty clay.
Treat the jar figures as your main guide and the feel key as a check. If the two land on neighboring classes, the soil sits near a boundary, and the watering advice for either class will work.
What your result means for growing
- Mostly sand. Expect fast drainage and frequent watering. Colorado State Extension recommends regular additions of organic matter to improve water and nutrient holding.
- Mostly clay. Expect slow drainage, easy compaction and late warming. Kind Seed Co offers tips for heavy ground in clay soil for cannabis.
- Loam. You have the most forgiving texture. Protect its structure by avoiding work when the soil is wet, as Colorado State Extension advises.
- High silt. Expect water holding close to clay. Treat it gently and keep organic matter up.
Colorado State Extension also suggests raised beds or containers where improving the native soil is not practical. If you build a raised bed, it warns against stacking a very different soil on top of native ground. That sharp change in texture slows water and air movement, so mix the new soil with the soil below.
What the jar test does not tell you
Texture is only one part of the picture. The jar test does not measure pH, nutrients, salts or organic matter. Pair it with a lab test before you plan amendments. Soil testing for cannabis shows how to take a sample and read a report.
Troubleshooting the jar test
The water never clears. Very fine clay can stay suspended for a long time. Colorado State Extension notes that some soils take weeks. Wait, and avoid moving the jar.
The layers blend together. Lines between sand, silt and clay are not always crisp. Take your marks at the times given, not by eye alone, since the timings separate the particles by size.
The total looks too low. The jar may have been underfilled. Use enough soil to fill it one quarter full so each layer is thick enough to measure.
Results disagree with the feel test. Repeat the test with a fresh, well-mixed sample, and shake longer to break up clumps.
Sources
- Colorado State University Extension. Estimating Soil Texture: Sandy, Loamy, or Clayey (GardenNotes 214). https://extension.colostate.edu/resource/estimating-soil-texture-sandy-loamy-or-clayey/
- Colorado State University Extension. Managing Soil Tilth: Texture, Structure, and Pore Space (GardenNotes 213). https://extension.colostate.edu/resource/managing-soil-tilth-texture-structure-and-pore-space/
FAQ
How long does a soil jar test take?
Plan on a few days. Colorado State Extension marks the sand layer after 1 minute and the silt layer after 2 hours. The clay level is marked once the water clears, which usually takes 1 to 3 days, and some clay-rich soils take weeks. Keep the jar still the whole time for clean layers.
Why add detergent to a soil jar test?
Detergent helps separate soil particles so they settle by size. Colorado State Extension calls for a teaspoon of powdered, non-foaming dishwasher detergent, followed by 10 to 15 minutes of hard shaking. Without it, clumps of clay and silt can settle together and make the soil look sandier than it really is.
How do I calculate sand, silt and clay percentages?
Measure the thickness of each layer and the total settled depth. Divide each layer by the total to get its percentage. For example, 2 inches of sand in 4 inches total is 50 percent sand. Then use the USDA soil texture triangle or the NRCS calculator to find the texture class name.
Is a jar test as accurate as a lab test?
It is an estimate. The jar test gives a practical picture of sand, silt and clay, but lab analysis is more precise and also reports pH, nutrients and organic matter. Use the jar test to understand drainage and water holding, and send a sample to a lab before planning amendments.


