
Hose Timer for Garden Watering: Setup for Cannabis Beds
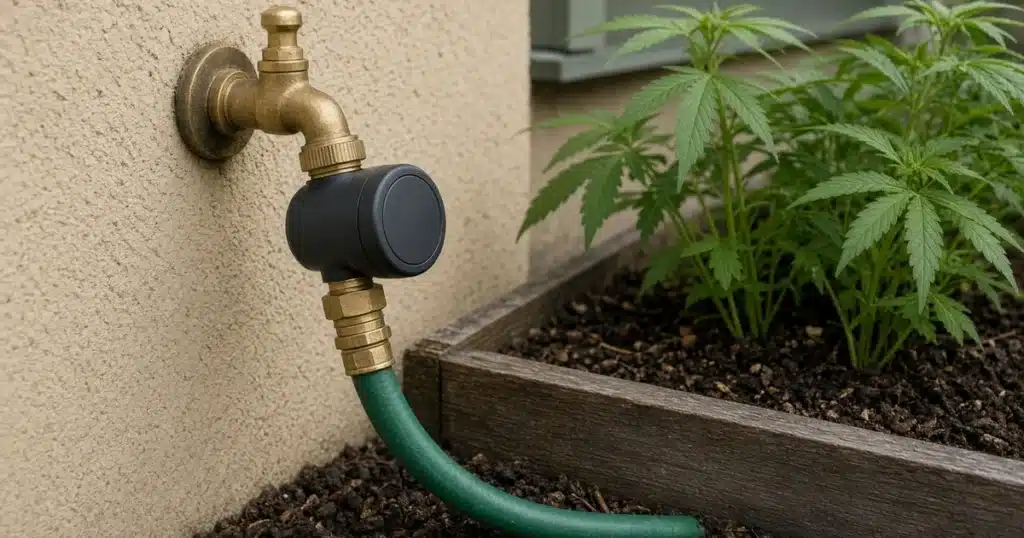
A hose timer turns a garden hose into a simple automatic watering system. It screws onto your outdoor faucet, opens the water at a set time, runs for as long as you choose and then shuts off. For outdoor cannabis growers, that means consistent watering without standing in the yard with a hose every morning. Washington State University Extension notes that a timer lets you go on vacation knowing your plants will be watered. A timer is only as good as its settings, though. University of Florida IFAS Extension points out that it is not always obvious how to program a timer to apply the amount of water you actually want. You will find out how to set up a faucet timer, how to choose run time and frequency, how to adjust for seasons and rain and why checking the soil is still essential.
Types of hose timers
Washington State University Extension explains that timers can be wind-up, battery-powered, plug-in or solar-powered. Wind-up timers handle a single run, while powered timers can manage from one zone up to twelve. Washington State University Extension adds that all powered timers offer similar functions.
University of Florida IFAS Extension adds that whatever the type, all timers share some basic settings. These include the current day and time, the days watering is allowed, the start time, the zones to water and how long each zone runs.
For most home cannabis gardens, a single or two-zone battery timer at the faucet is enough.
What else goes on the faucet
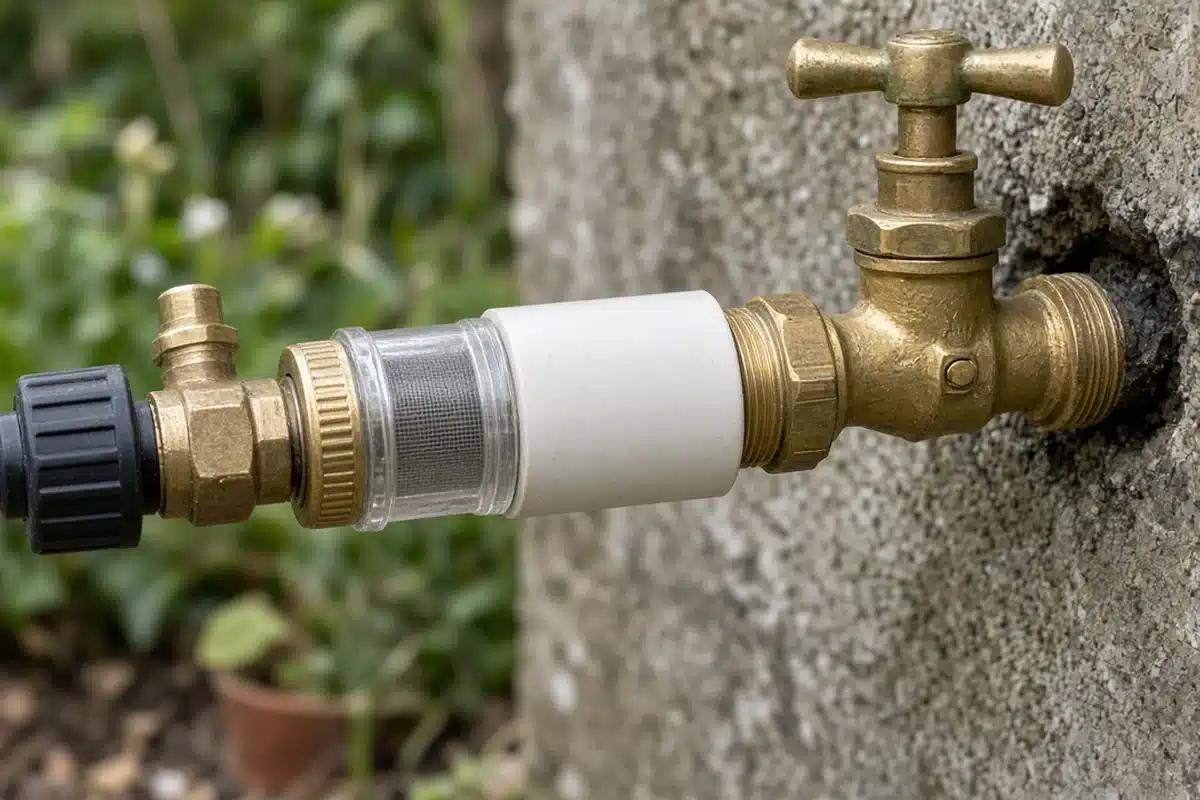
A timer often works alongside a few other parts. Washington State University Extension gives the order of parts in a drip system as the water source, then the timer, then a filter, then a pressure regulator, then the lines. It notes that it is important to always include a filter after the timer, because drip emitters have very small channels that clog easily.
In general terms, these parts do the following:
- The filter catches grit and debris before it reaches the lines.
- The pressure regulator lowers water pressure to suit low-pressure lines. Washington State University Extension notes that a soaker hose performs best with a timer, filter and pressure reducer.
- A backflow preventer helps keep garden water from flowing back into household drinking water. Colorado State University Extension explains that backflow prevention devices are designed to prevent contamination of the drinking water system, and it recommends a hose connection vacuum breaker as the minimum protection when anything is applied through a hose-end sprayer.
Follow the instructions that come with your parts.
How to set up a hose timer, step by step
Washington State University Extension describes how most powered timers are set. Here is the full process:
- Attach the timer to the faucet, hand tight, following the manufacturer’s directions.
- Add a filter and pressure regulator after the timer if you are running drip or soaker lines.
- Connect the hose or watering line.
- Install batteries if your timer uses them.
- Set the current time and day of the week. Washington State University Extension says this is the first step on most timers.
- Choose the zone if your timer has more than one.
- Set the run time, the days to water and a start time for each zone.
- Leave the faucet fully open so the timer controls the flow.
- Run a manual test and walk the line to check for leaks.
Choosing run time
Run time is the setting that matters most, and it depends on your setup. University of Florida IFAS Extension explains that the right run time depends on how quickly your system applies water. Watering for longer than the soil can hold sends water below the root zone, which wastes it.
University of Florida IFAS Extension describes a simple way to measure how fast a sprinkler applies water:
- Set out several catch containers of the same size and shape, level, across the watered area.
- Run the system for a normal cycle.
- Measure the average depth of water in the containers.
- Use that depth and the run time to work out how long it takes to apply the amount you want.
For drip lines and soaker hoses, the containers trick does not work, because these lines do not wet the whole area. University of Florida IFAS Extension notes that when you do not know how much water a planting needs, drip zones can start at about one hour, twice a week, and then be shortened gradually while you watch how plants respond. Treat this as a starting point only and check the soil.
Choosing how often to water
University of Florida IFAS Extension explains that most timers can water every day, every second or third day or on chosen days of the week. It adds that the custom option is the one normally used when watering is limited to certain days, and it advises always following local water restrictions when programming a timer.
Soil type shapes the schedule. Washington State University Extension notes that clay soil holds more water but absorbs and releases it slowly, while sandy soil drains quickly. It suggests sandy soils be watered more often for shorter periods.
Washington State University Extension also notes that multiple start times are useful for setups that spray water over an area, because several short runs help avoid runoff. University of Florida IFAS Extension adds that any run longer than an hour risks pushing water below the roots and suggests splitting it into two runs at least four hours apart.
Adjusting by season and rain
A timer set in June is unlikely to suit September. Plants need less water in cooler weather and after rain. University of Florida IFAS Extension notes that most timers have a percentage setting that adjusts all run times at once. For example, setting a timer to 75% turns a 60-minute run into a 45-minute run. This makes seasonal changes quick.
As a general rule, increase run times during hot, dry spells and reduce them as days cool. After a good soaking rain, pause the timer or use its rain delay setting if it has one. Keeping an eye on a rain gauge makes these choices easier.
Check the soil after each change
A timer cannot tell whether your soil is wet or dry. Always check the soil after a timed run, especially when you first set it up and after any change. An hour or so after watering, dig a small hole a few inches from the line and see how deep the moisture reached. If the soil is dry at root depth, lengthen the run. If it is soggy or water pools, shorten it. A soil moisture meter can help, too.
Pairing a timer with ground-level watering
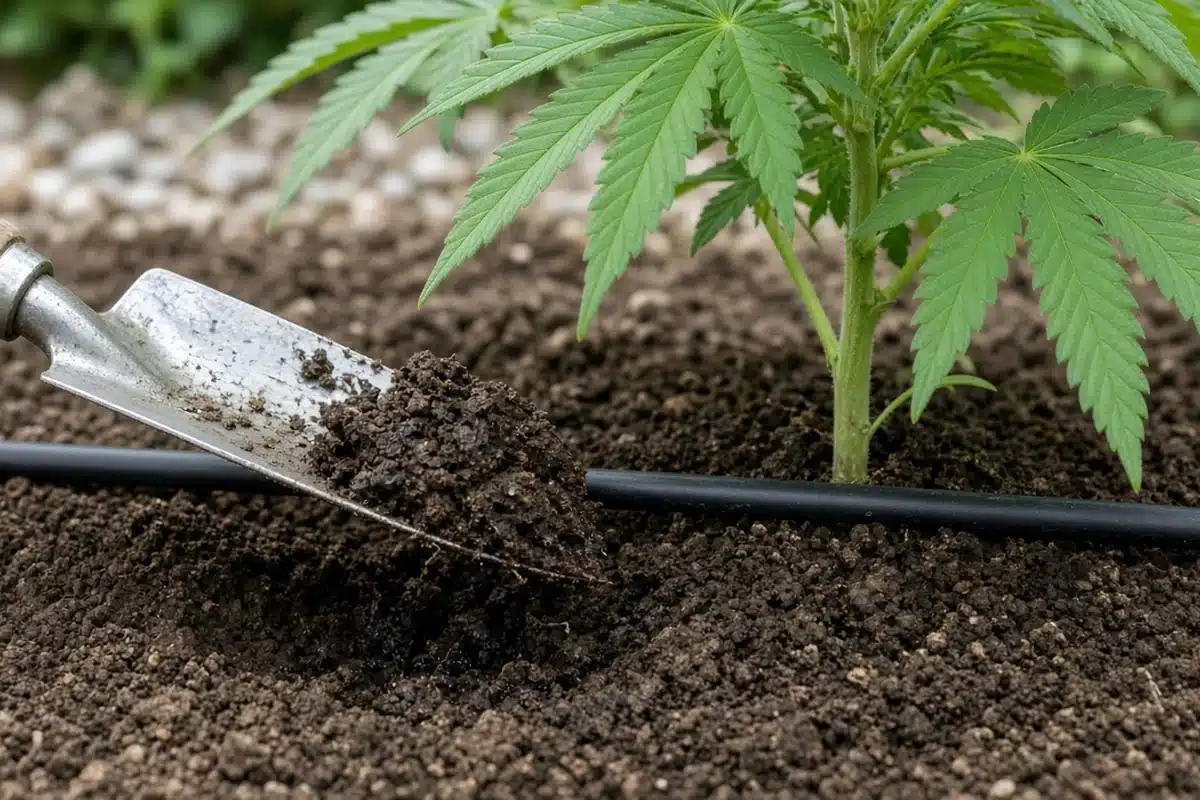
Timers work especially well with low-volume lines that water at the base of plants. Emitter setups get a full walkthrough from Kind Seed Co in drip irrigation for cannabis. For a simpler setup along beds, read the post about using a soaker hose. If you are using a timer to cover a trip away, the post on watering containers while on vacation has more ideas.
Winter care for timers
Washington State University Extension warns that timers, filters and pressure regulators can be damaged by hard freezes. It recommends storing them indoors over winter and removing batteries from timers. Drain the hose and lines before you put them away.
Troubleshooting
The timer does not turn on. Check the batteries, the current time and day settings and that the faucet is fully open.
Water runs but plants still look dry. The run may be too short. Check soil depth after a run and lengthen it.
Water pools or runs off. The run may be too long for your soil. Split it into several shorter runs.
Drip emitters stop flowing. They may be clogged. Clean the filter and flush the lines.
The timer leaks at the faucet. Check that the washer is seated and the connection is hand tight.
Plants are overwatered after rain. Pause the timer or use the rain delay after a good soaking.
Sources
- University of Florida IFAS Extension. Operation of Residential Irrigation Timers (CIR1421/AE220). https://ask.ifas.ufl.edu/publication/AE220
- Colorado State University Extension. Home Sprinkler Systems: Backflow Prevention Devices. https://extension.colostate.edu/resource/home-sprinkler-systems-backflow-prevention-devices/
- Washington State University Extension. Designing a Drip Irrigation System. https://wpcdn.web.wsu.edu/extension/uploads/sites/57/2023/07/Designing-a-Drip-Irrigation-System.pdf
FAQ
How long should I set my hose timer to run?
It depends on your system and soil. University of Florida IFAS Extension explains that run time should match how fast your system applies water, since running too long sends water below the roots. For drip lines, start with a set time, then dig and check how deep the water reached and adjust.
How often should a hose timer water the garden?
Check your soil instead of guessing. Washington State University Extension notes sandy soils need more frequent, shorter runs, while clay holds water longer. University of Florida IFAS Extension advises following local water restrictions and suggests splitting runs longer than an hour into two runs at least four hours apart.
What goes between a hose timer and a drip line?
Washington State University Extension gives the order as faucet, timer, filter, pressure regulator, then lines. It says to always include a filter after the timer, because drip emitters clog easily. Colorado State Extension also recommends a hose connection vacuum breaker to guard against backflow. Follow the instructions for your parts.
Should I bring my hose timer in for winter?
Yes. Washington State University Extension warns that hard freezes can damage timers, filters and pressure regulators, and it recommends storing them indoors over winter. It also suggests removing the batteries from timers. Drain your hose and lines before storing them so no water is left to freeze inside.


