How to Use Grow Sponges: Sowing, Daily Care and Moving Seedlings
The short answer
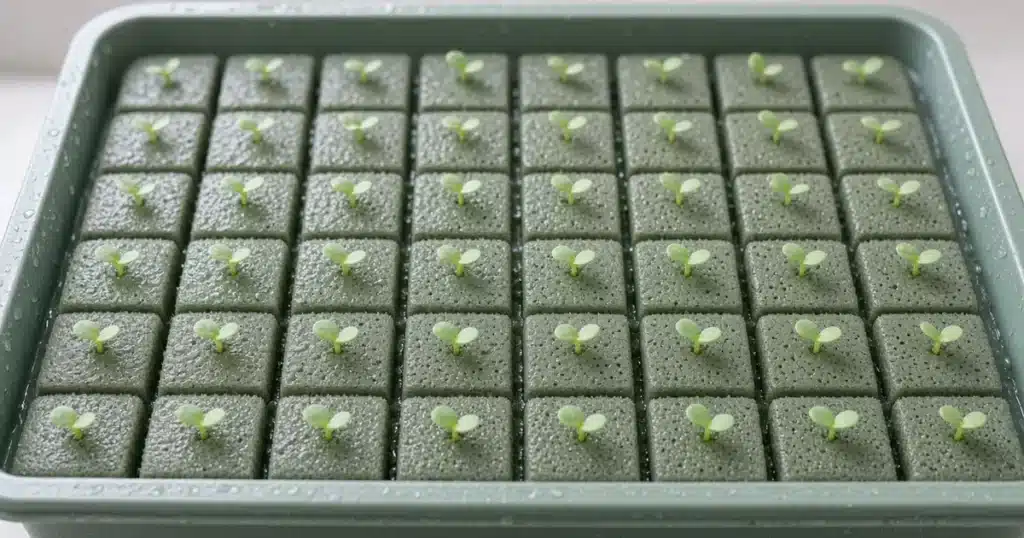
Knowing how to use grow sponges starts with wetting them and squeezing out extra water. Foam is clean, light and long lasting, but it can stay too wet if soaked, so leave just a thin layer of water in the tray. Sow one or two seeds per hole and move each sponge to a net cup when roots show.
Sponges skip the mess of loose mix and fit neatly into most home systems.
What are hydroponic grow sponges?
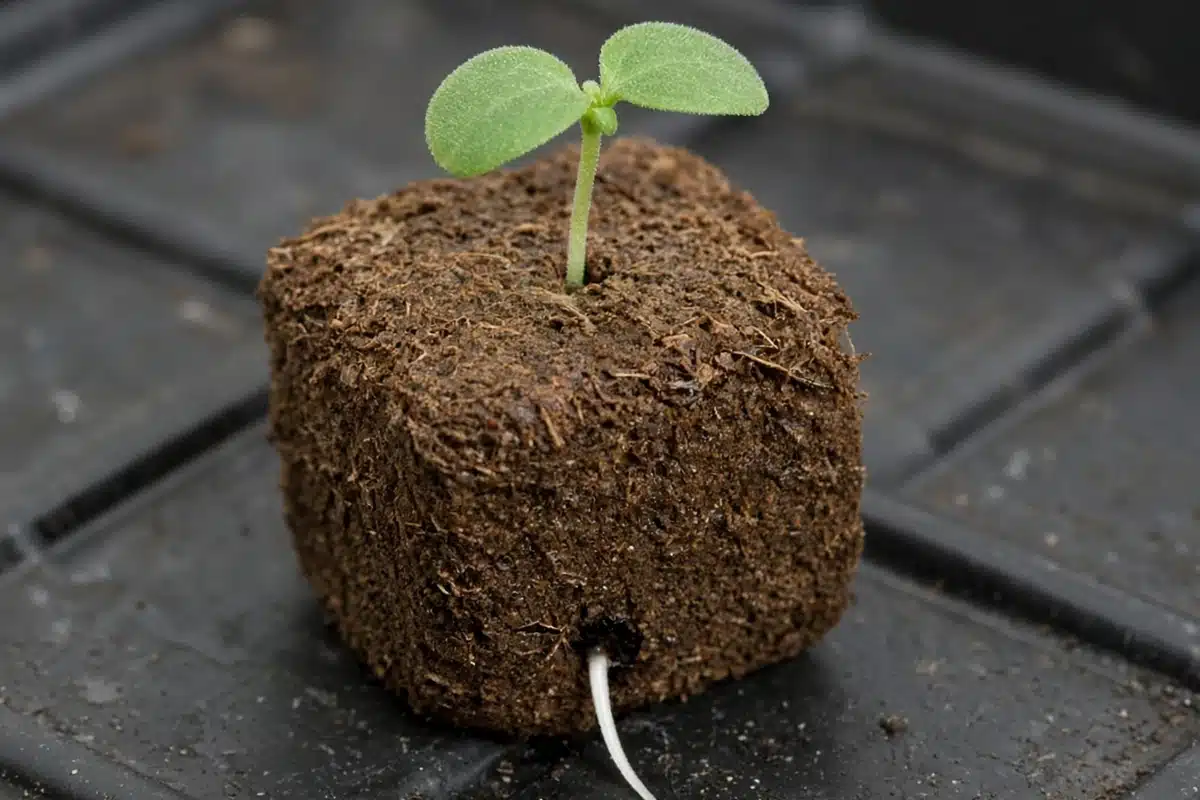
Grow sponges are starter plugs made for soilless growing. Most come in trays of small cubes or cones with a hole in the top for the seed. Some are made of foam. Others are peat or coco bound with a light glue so they hold their shape.
The University of Minnesota Extension page on small scale hydroponics describes home setups where young plants start in a small plug and then move into the system. Sponges fill that role.
The goal is simple. Hold the seed in a moist, airy spot until the root grows long enough to reach water in the system.
Choosing between peat, coco and foam is covered in a separate starter plug comparison post. Here the focus stays on using grow sponges and caring for seedlings.
How do you hold sponges moist without drowning seeds?
Seeds need water and air. A soaked sponge with no air pockets can stall germination.
Wet sponges evenly before sowing. Squeeze out extra water so they feel moist like a wrung out cloth. Set them in a tray with a thin layer of water at the bottom, not a deep pool.
Cover the tray with a clear dome to hold humidity. Lift the dome once or twice a day for fresh air.
The University of Tennessee Extension guide to leafy crop production in small scale soilless and hydroponic systems covers starting greens in plugs before moving them into the system.
How much light do sponge seedlings need?
Most seeds don’t need light to sprout. Once they come up, seedlings need bright light right away or they stretch.
A grow light set close above the tray works well. The University of Maryland Extension page on grow lights for starting seeds indoors explains how to place lights near seedlings and run them on a timer for long days.
Hang the light a few inches above the tray and raise it as seedlings grow.
What temperature helps sponges sprout?
Most garden seeds sprout well when the tray stays warm. The Utah State University Extension guide to germination says most seeds sprout readily at mix temperatures of 65 to 75 degrees Fahrenheit. A cool windowsill or a cold basement floor can slow germination by days.
A seedling heat mat under the tray gives gentle, even warmth. Utah State suggests pairing the mat with a thermostat so the tray does not get too hot. Once most seeds have sprouted, turn the mat off or down. Seedlings grow sturdier in slightly cooler air with bright light.
Set sponges away from heater vents and cold drafts. Both dry them out unevenly.
How to: step by step
- Check each sponge daily by touch for moisture.
- Add a little water to the tray only when sponges feel dry.
- Vent the dome once or twice a day for fresh air.
- Run a heat mat under the tray until most seeds sprout.
- Turn the mat off or down once seedlings are up.
- Vent the dome more often if mold shows on sponge tops.
| Daily sponge care | When | Notes |
|---|---|---|
| Check moisture by touch | Daily | Moist like a wrung out cloth |
| Add water to the tray | When sponges feel dry | Leave a thin layer at the bottom, not a deep pool |
| Pour off extra water | When water pools | A soaked sponge can stall germination |
| Vent the dome | Once or twice a day | Vent more often if mold shows |
| Run the heat mat | Until most seeds sprout | Turn it off or down once seedlings are up |
Push seeds gently into the hole. Small seeds sit near the top. Bigger seeds can go a bit deeper.
Check the tray daily. Add a little water to the bottom if sponges start to feel dry. Pour off extra if water pools.
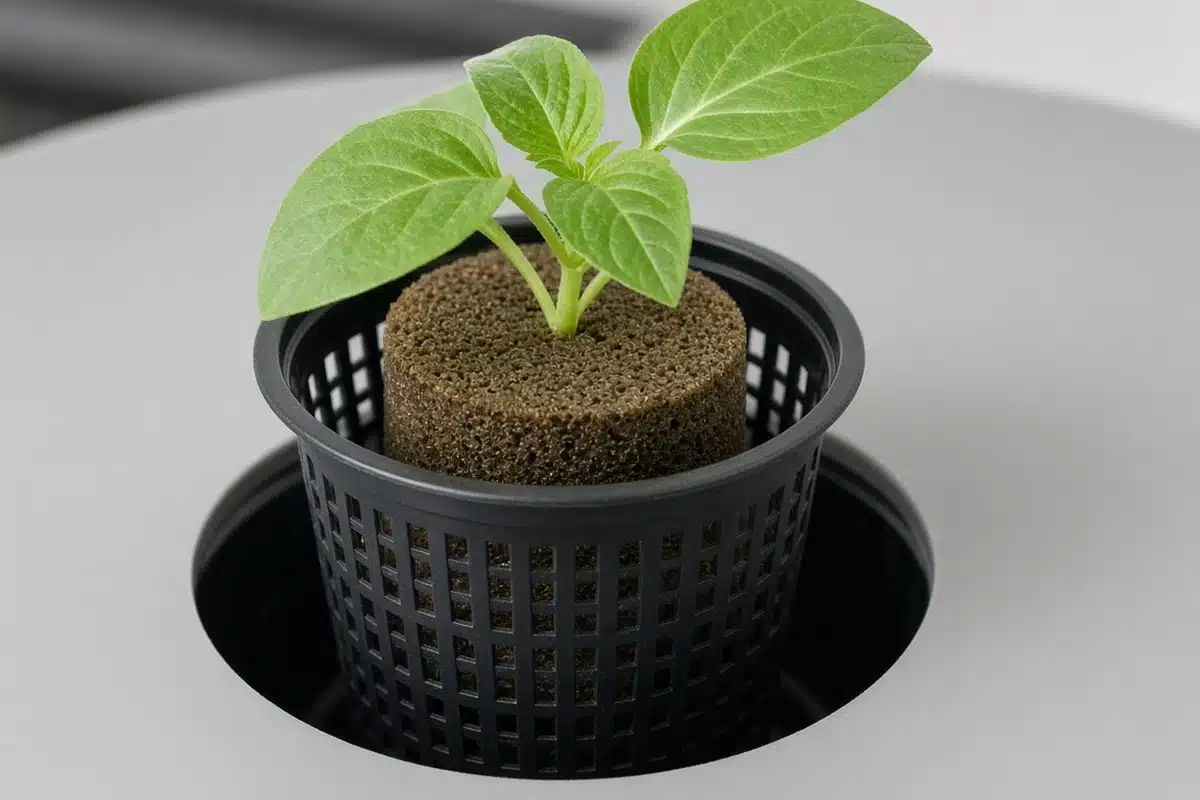
When roots poke out the bottom, set each sponge in a net cup. Fill around it with clay pebbles or other media to hold it upright. Lower it into the system so the root tip touches water. Our post on caring for your hydroponic system explains how to clean the system as new plants go in.
Troubleshooting
Seeds not sprouting. Sponges may be too wet, too cold or the seed may be old. Squeeze out water and add gentle warmth.
Mold on sponge tops. Air is too still and humid. Vent the dome more often.
Leggy seedlings. Light is too weak or too far away. Lower the light.
Roots not reaching out. The sponge is drying out. Add a thin layer of water to the tray.
Peat plugs falling apart. They were handled roughly or stayed too wet. Lift them by the base and move them with care.
Sponges make seed starting clean and simple. Kind Seed Co carries cannabis seeds for growers ready to start a new tray.
Sources
- Small scale hydroponics, University of Minnesota Extension, Small scale hydroponics
- Leafy crop production in small scale soilless and hydroponic systems (W 844-B), University of Tennessee Extension, Leafy crop production in small scale soilless and hydroponic systems (W 844-B)
- Starting Vegetable Seeds Indoors: III. Germination, Utah State University Extension
- Grow lights for starting seeds indoors, University of Maryland Extension, Grow lights for starting seeds indoors
FAQ
Do grow sponges need nutrients?
Not at first. Seeds carry their own food. Once true leaves form, a mild nutrient solution helps seedlings continue growing.
How many seeds go in each sponge?
One or two is common. If both sprout, snip the weaker one at the base so one seedling has the space.
Can you reuse grow sponges?
Most are single use, since roots grow through them. Some foam types can be rinsed and reused for cuttings.
How long until roots show?
Many seeds show roots below the sponge within one to two weeks. Warmth and steady moisture speed things up.
Should sponges sit in water?
Only a thin layer. Deep water drowns the seed. Hold sponges moist, not soaked.